Ray Tracer
Tools: C++, Blender, Hitfilm Express
Skills: Programming, 3D Modeling, Animation
Overview
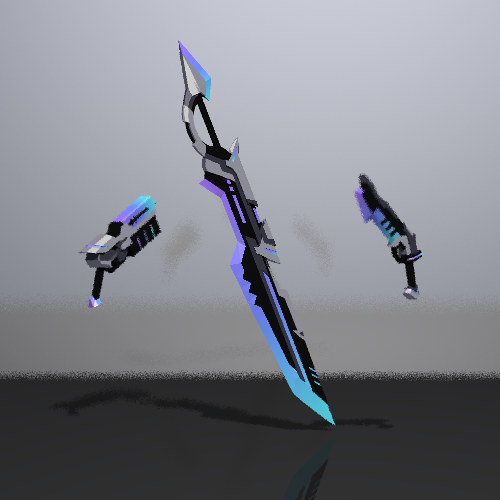
The final assignment for my graphics course in winter 2022 was to build a ray tracer in C++ from scratch. The purpose of the assignment was to demonstrate different techniques used in computer graphics. I used the following techniques in this project: shadows, reflections, depth of field, texture mapping, and cel shading. On top of the programming, I also created 3D models for three of the weapons from my Battle Academia designs and used my ray tracer to render them in a short animation that illustrated these techniques.
Since this project was a school assignment I cannot share a public repository. If you would like to view the source code, please reach out to me through the contact info provided on this site.
Goal: Build a ray tracer and render a short animation
Sources
I referred to Peter Shirley's ray tracing books while working on the programming aspects of this project, especially for implementing reflections and depth of field. I also followed this guide to implement multithreading to improve the rendering time.
Technique 1: Shadows
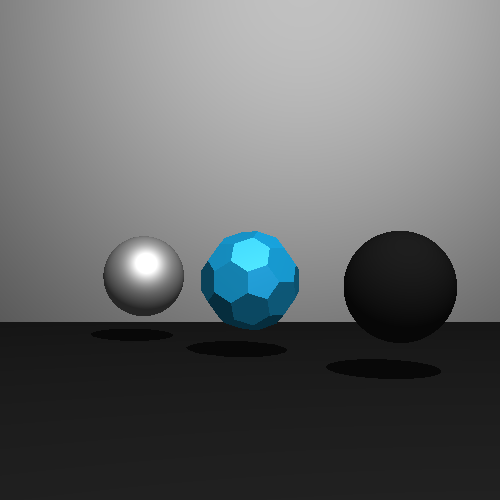
I had already implemented simple shadow rays in a previous assignment, so I was able to carry over the same functionality into the final ray tracer. When a ray hits a non-reflective object or maximum recursion depth is reached, it casts a shadow ray towards the light source. If an object is in the way of the shadow ray and the light, the intersection point is in shadow.
Technique 2: Reflections
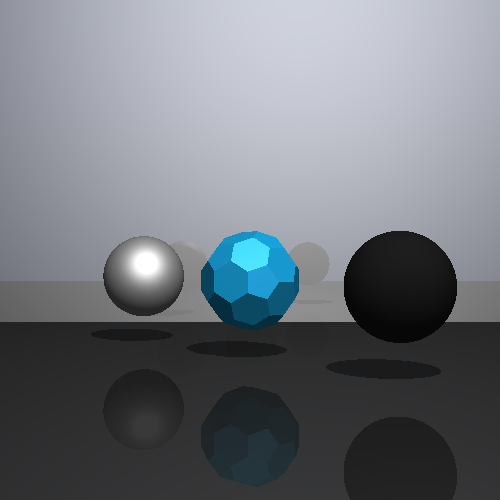
If a primary ray hits a reflective surface, it is reflected over the surface's normal to get the reflection ray. That new ray is then treated as a primary ray and traced recursively until it either hits a non-reflective surface or the depth of recursion exceeds the limit.
Technique 3: Depth of Field
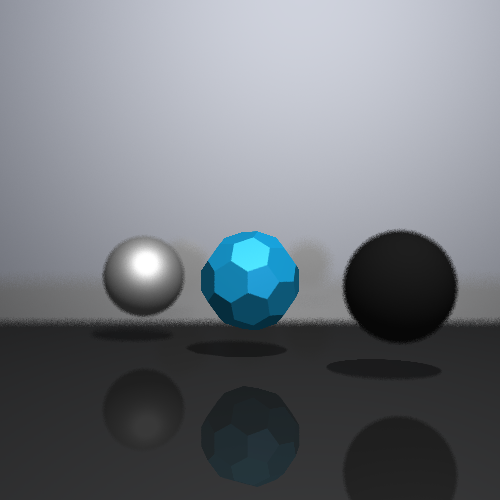
I created a function to randomly generate a point on a disc located at the eye point and cast multiple rays from the eye point towards each pixel. This caused the narrowing “cone” effect that cameras in real life use. The focal plane is determined by the view vector passed into the scene for easy per-scene modification, while the radius of the disc and sample sizes are controlled in the ray tracer.
The final animation uses only five samples since additional samples increase the rendering time, so the visuals look a bit “grainy” as a result.
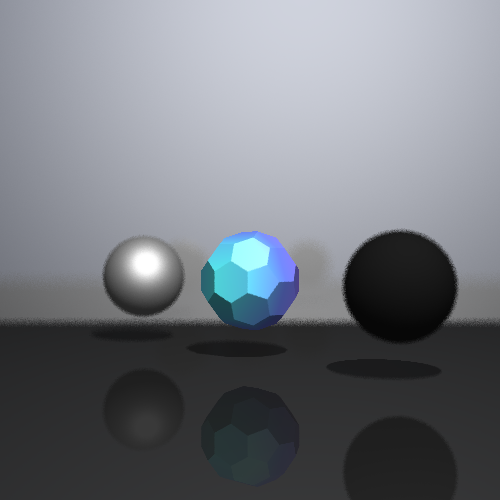
Technique 4: Texture Mapping
I used more of a “solid texture” mapping approach since I don't read from a file but instead generate a colour based on the intersection point. In the case of these gradients, I used the local horizontal distance on the mesh. I also used a three-colour gradient, so a t value < 0.5 is mapped between the first two colours while a t value >= 0.5 is mapped between the last two colours.
Technique 5: Cel Shading
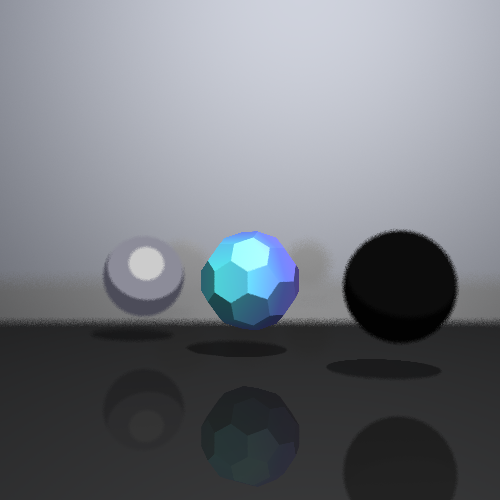
I mapped the diffuse colour of an intersected object as well as the colour from the Phong shading at that intersection to HSL colour space. I compared the lightness values, and depending on the difference in lightness between the Phong value and the diffuse material the resulting colour was mapped to either a dark, mid, or light tone.
The animation only uses cel shading on the non-gradient parts of the weapons in order to still clearly demonstrate texture mapping.
Rendering and Compositing
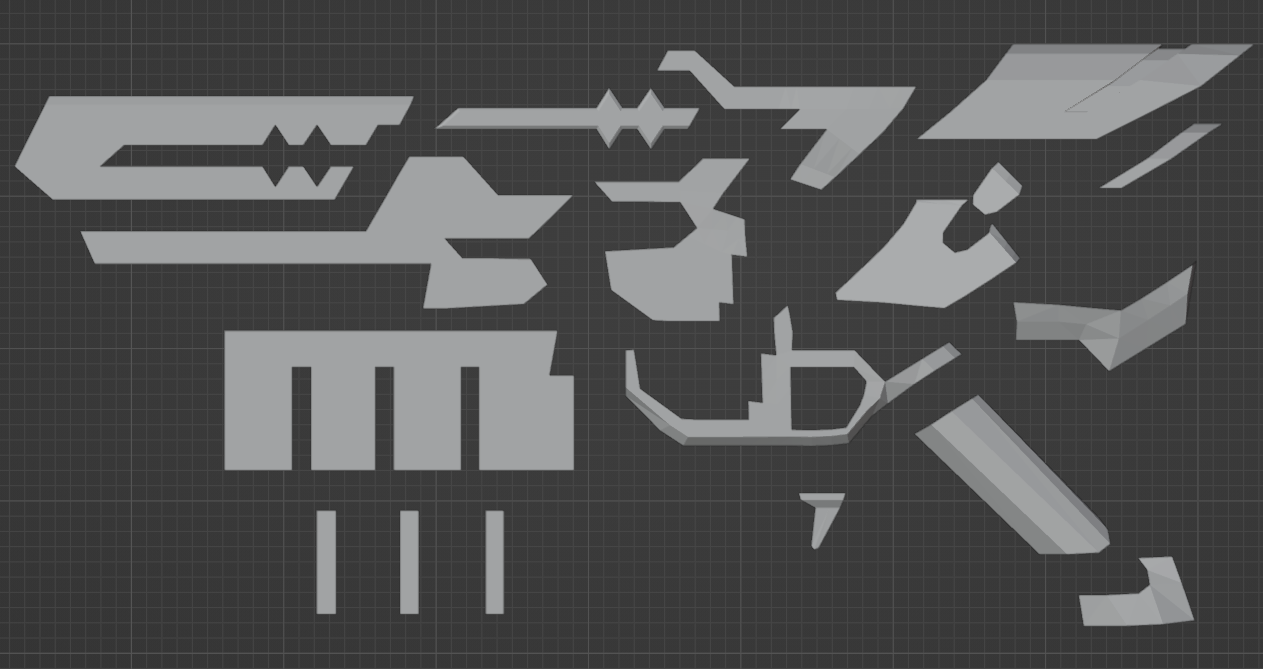
Once all my techniques were functional I set up a 3D scene in a lua file using the obj files of my 3D models. I split each part of the model up by colour to reduce the size of the bounding boxes and so I wouldn't have to modify my code to render a multi-coloured object.
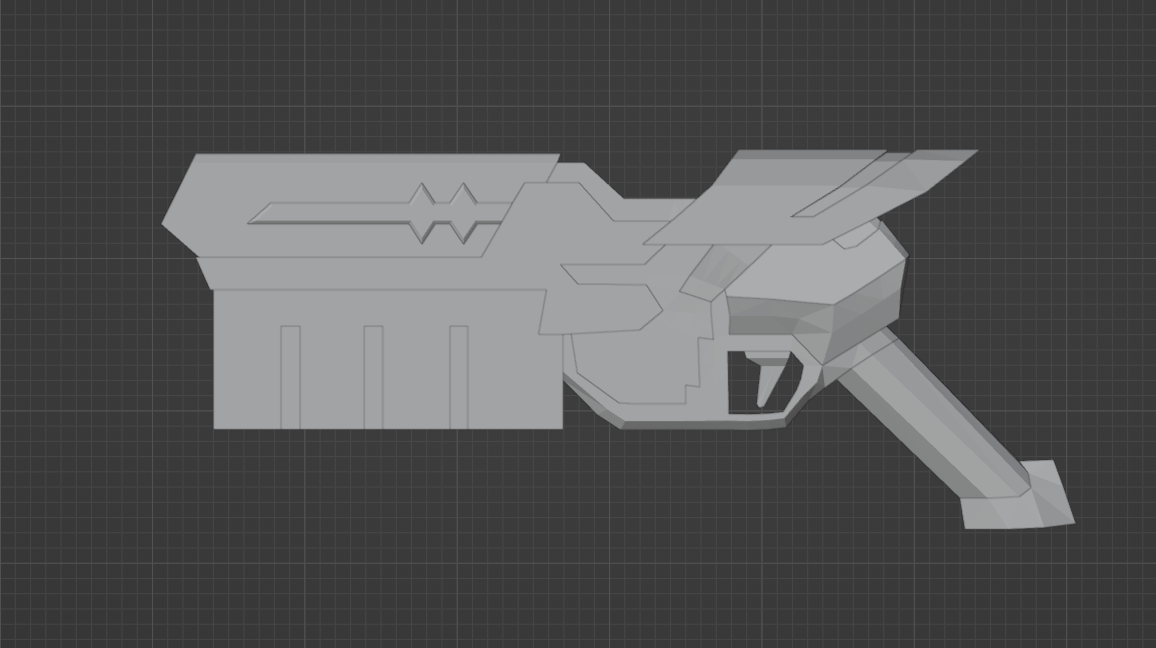
I wanted a 360-degree rotation of the objects, so I used a shell script to generate lua files for each angle of the scene. However, even after implementing multithreading, an eight-core lab machine took around ten minutes to render each frame of the animation. 360 frames would take 60 hours! I instead decided to render every other frame to cut the rendering time in half. I then used another script to run each lua file one after the other and save the output.
Finally, I took the 180 rendered images and put them together at 24 frames per second using Hitfilm Express. I also added audio effects to emphasize the “energy” in the weapons as well as background music for ambiance.
Final Product
Next Steps
My code is definitely not flawless, but it functions as intended and I am very proud of how it turned out. While I don't have an interest in expanding the ray tracer part of this project, I hope to apply the computer graphics techniques I learned from this course in my future 3D modeling endeavors.
