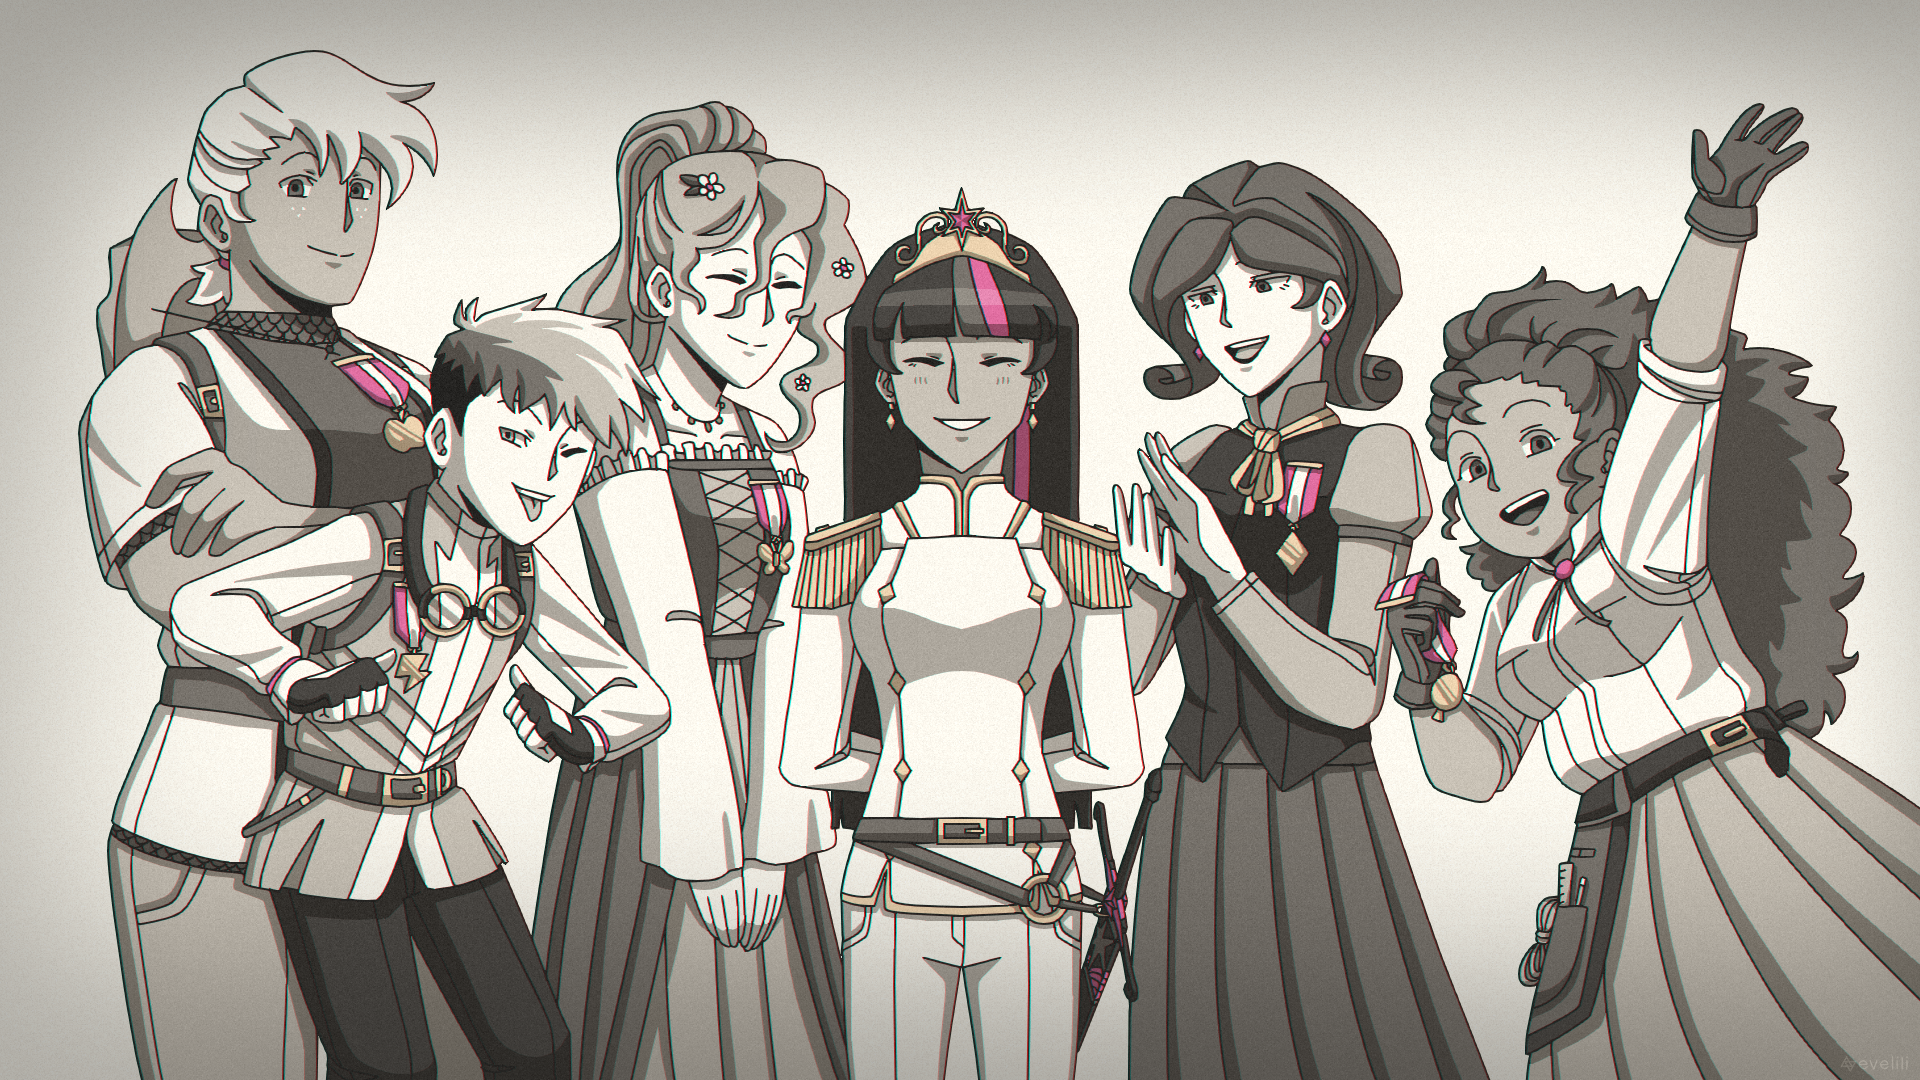
Prom Dress Animation
Tools: Clip Studio Paint, Hitfilm Express, Blender
Skills: Animation, Video Editing, 3D Modeling
Overview
One of my favourite pastimes-slash-habits is to imagine “music videos” to go alongside songs I listen to. Sometimes I get ideas I really want to turn into animations, but that often doesn't happen due to a lack of time, skill limits, or both.
Thankfully, one of my other favourite pastimes is productive procrastination. When I heard the song Prom Dress by mxmtoon, I immediately knew that I wanted to bring the “music video” in my head to life—partly because I felt it was just outside my skill limits in a way that I would have to grow as an artist to achieve it, but also partly because the idea was angsty and dramatic and I am always going to take the opportunity to make my audience suffer :)
So, disregarding all the lessons I'd learned from my previous animations for the time being, I rolled up my metaphorical sleeves and got to work.
Goal: Use animation as storytelling medium for a central character
Animatic
First things first: I needed to get my ideas out of my head and onto some digital paper. My go-to method is to create a 2x1 table in a document, paste the song lyrics in the left column, adjust them so each phrase is on its own line according to when I have scenes change, and then describe each phrase in the right column adjacent to the corresponding line.

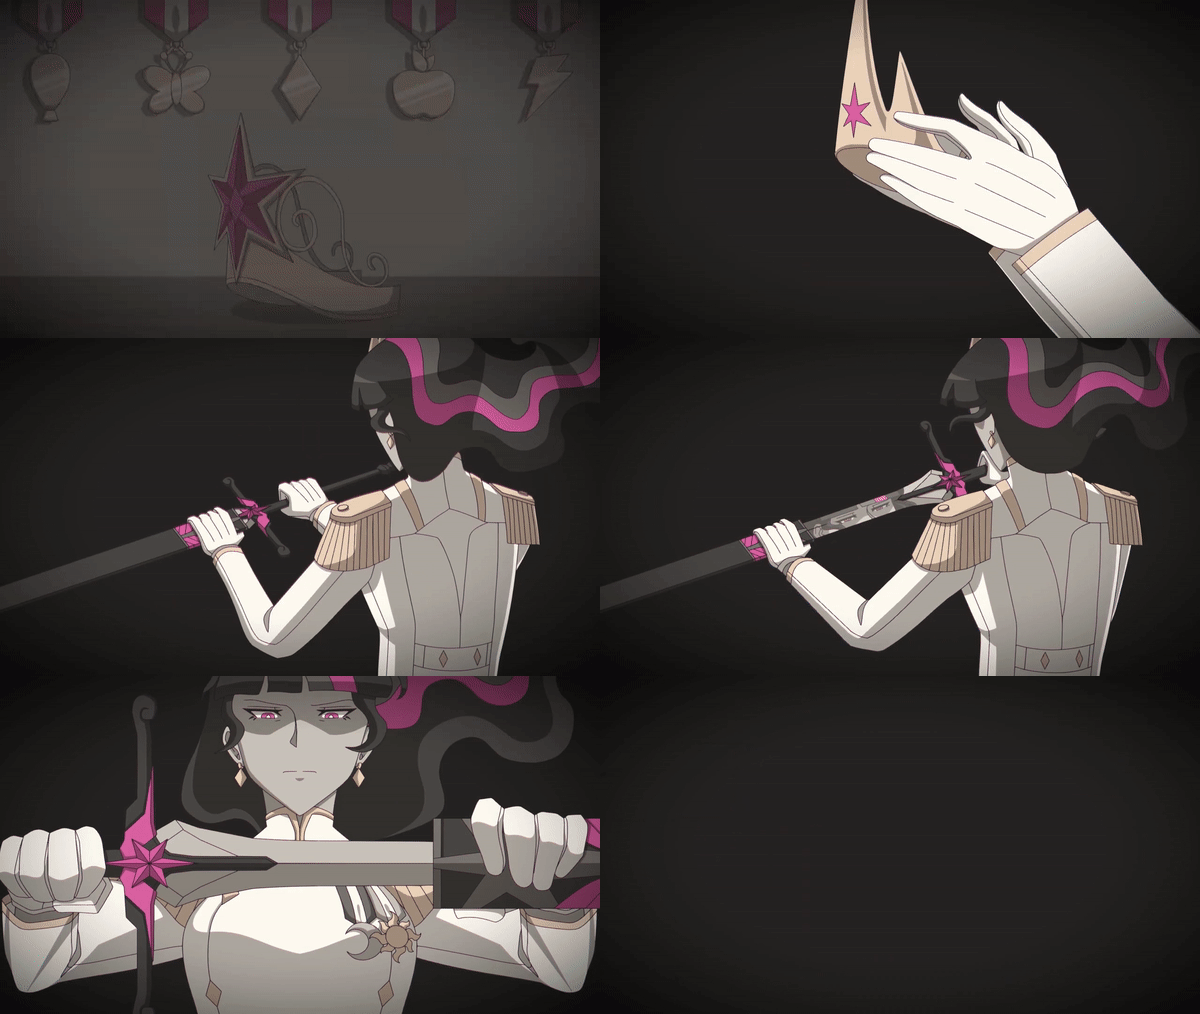
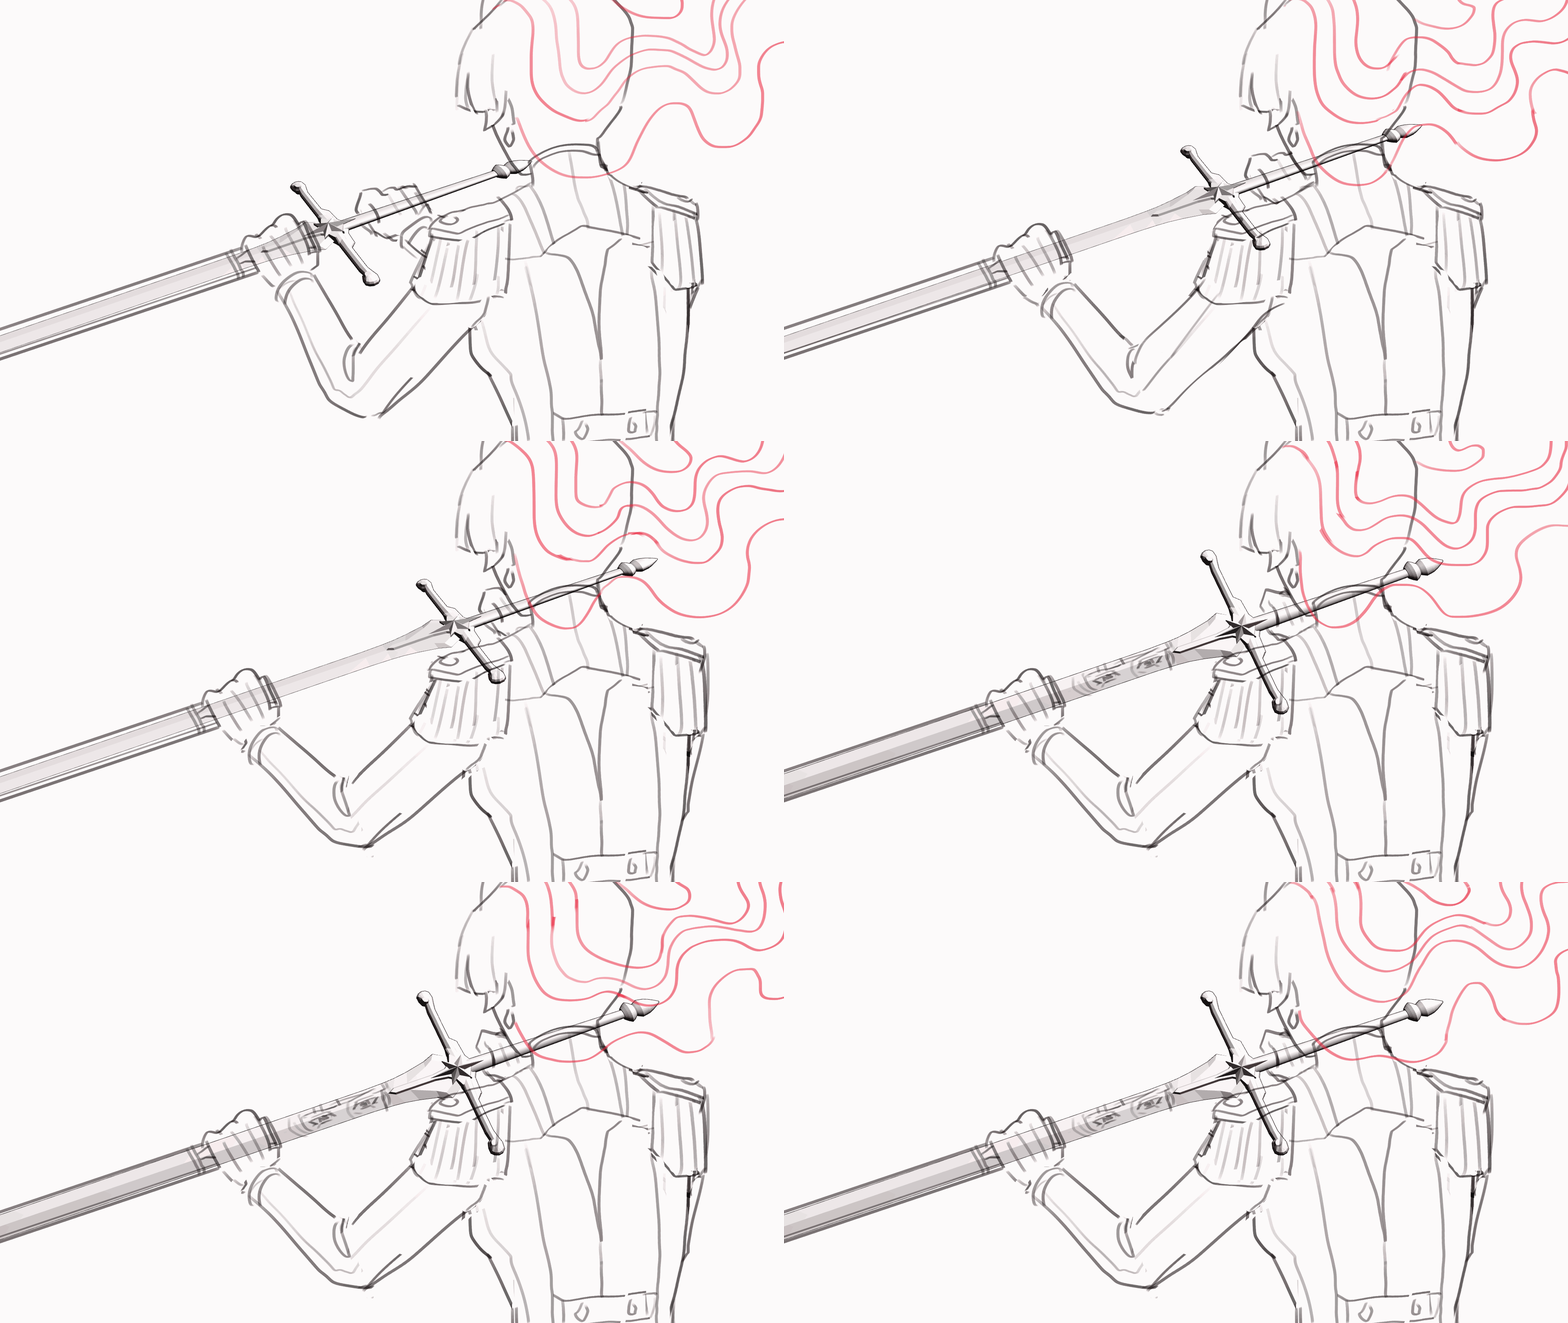
Once I have a table charted out, I usually just start boarding from the beginning and work my way to the end. However, this time I needed to take a pit stop at the 3D modeling station (Blender) before I could get on the road. I wanted one of the key parts of the animation to be a sword, but I also did not want to put myself through the suffering of drawing a sword in perspective over and over. So, the obvious solution was to 3D model the sword and then reuse it in all the shots that needed it.
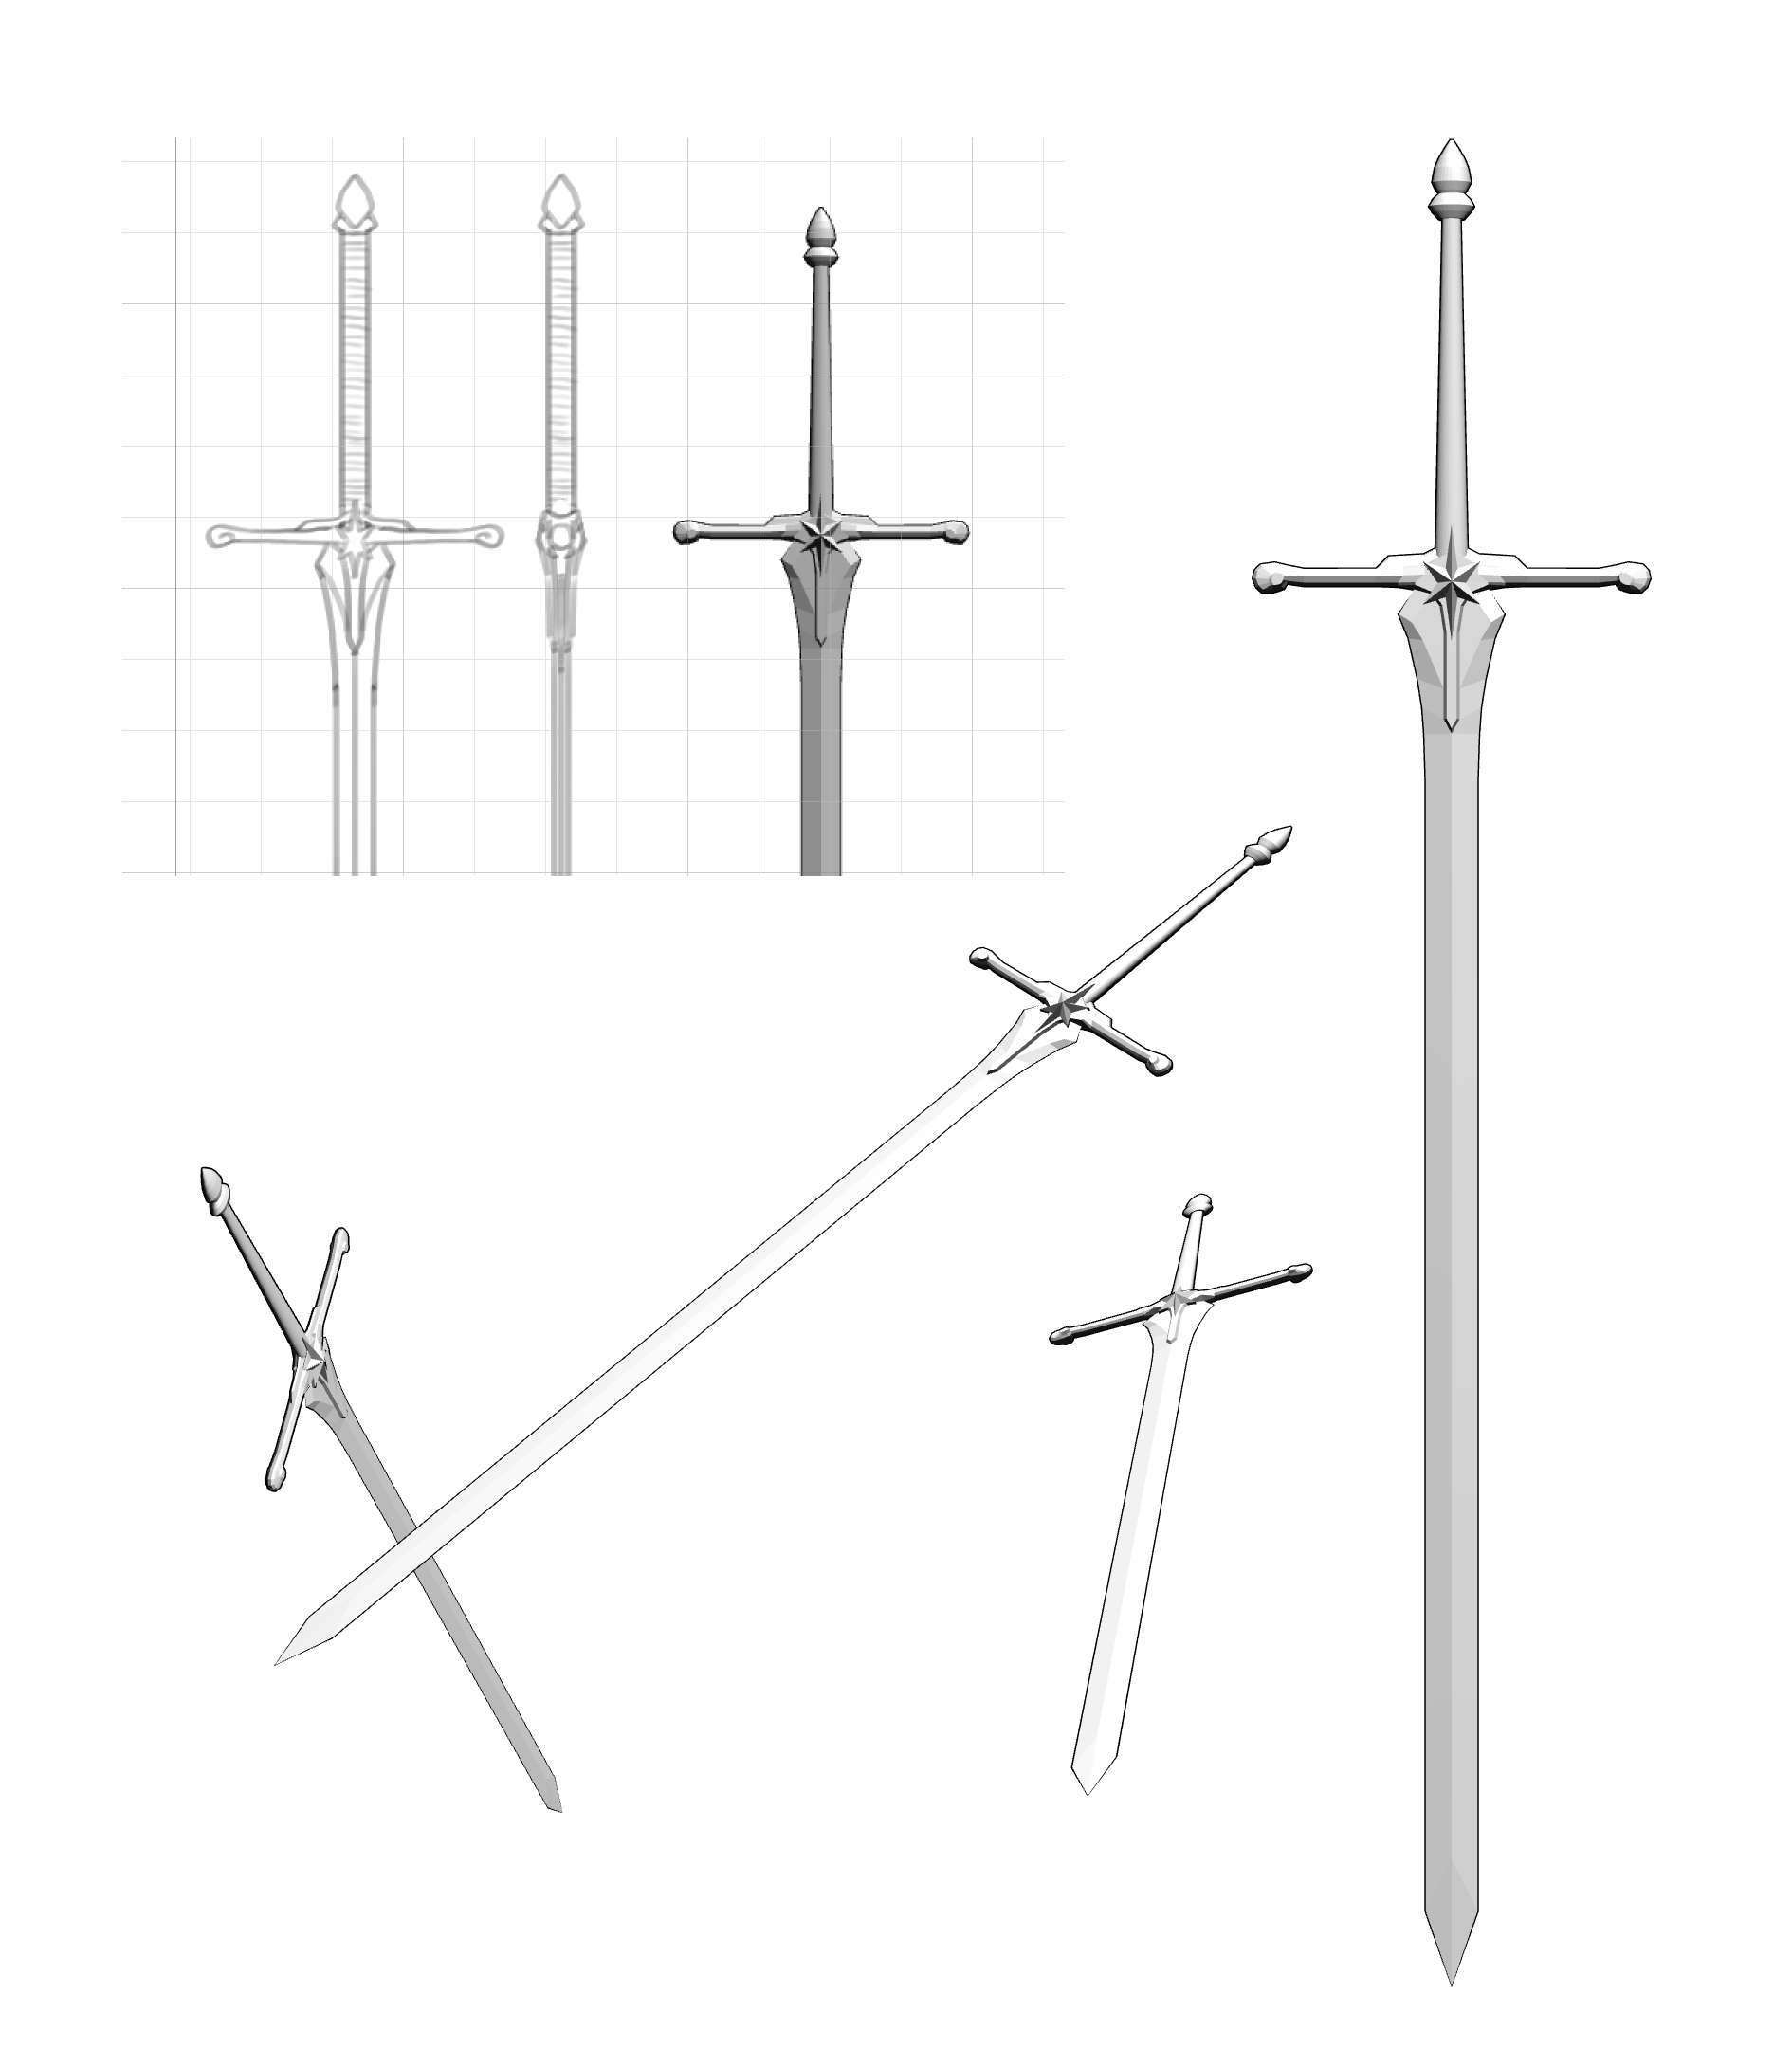
Some of the details on the crossguard are slightly different in the animation compared to the actual model. I realized later on that I wanted to use a different design, but because all I needed was the sword for the general perspective, it wasn't very hard to change the design a bit.
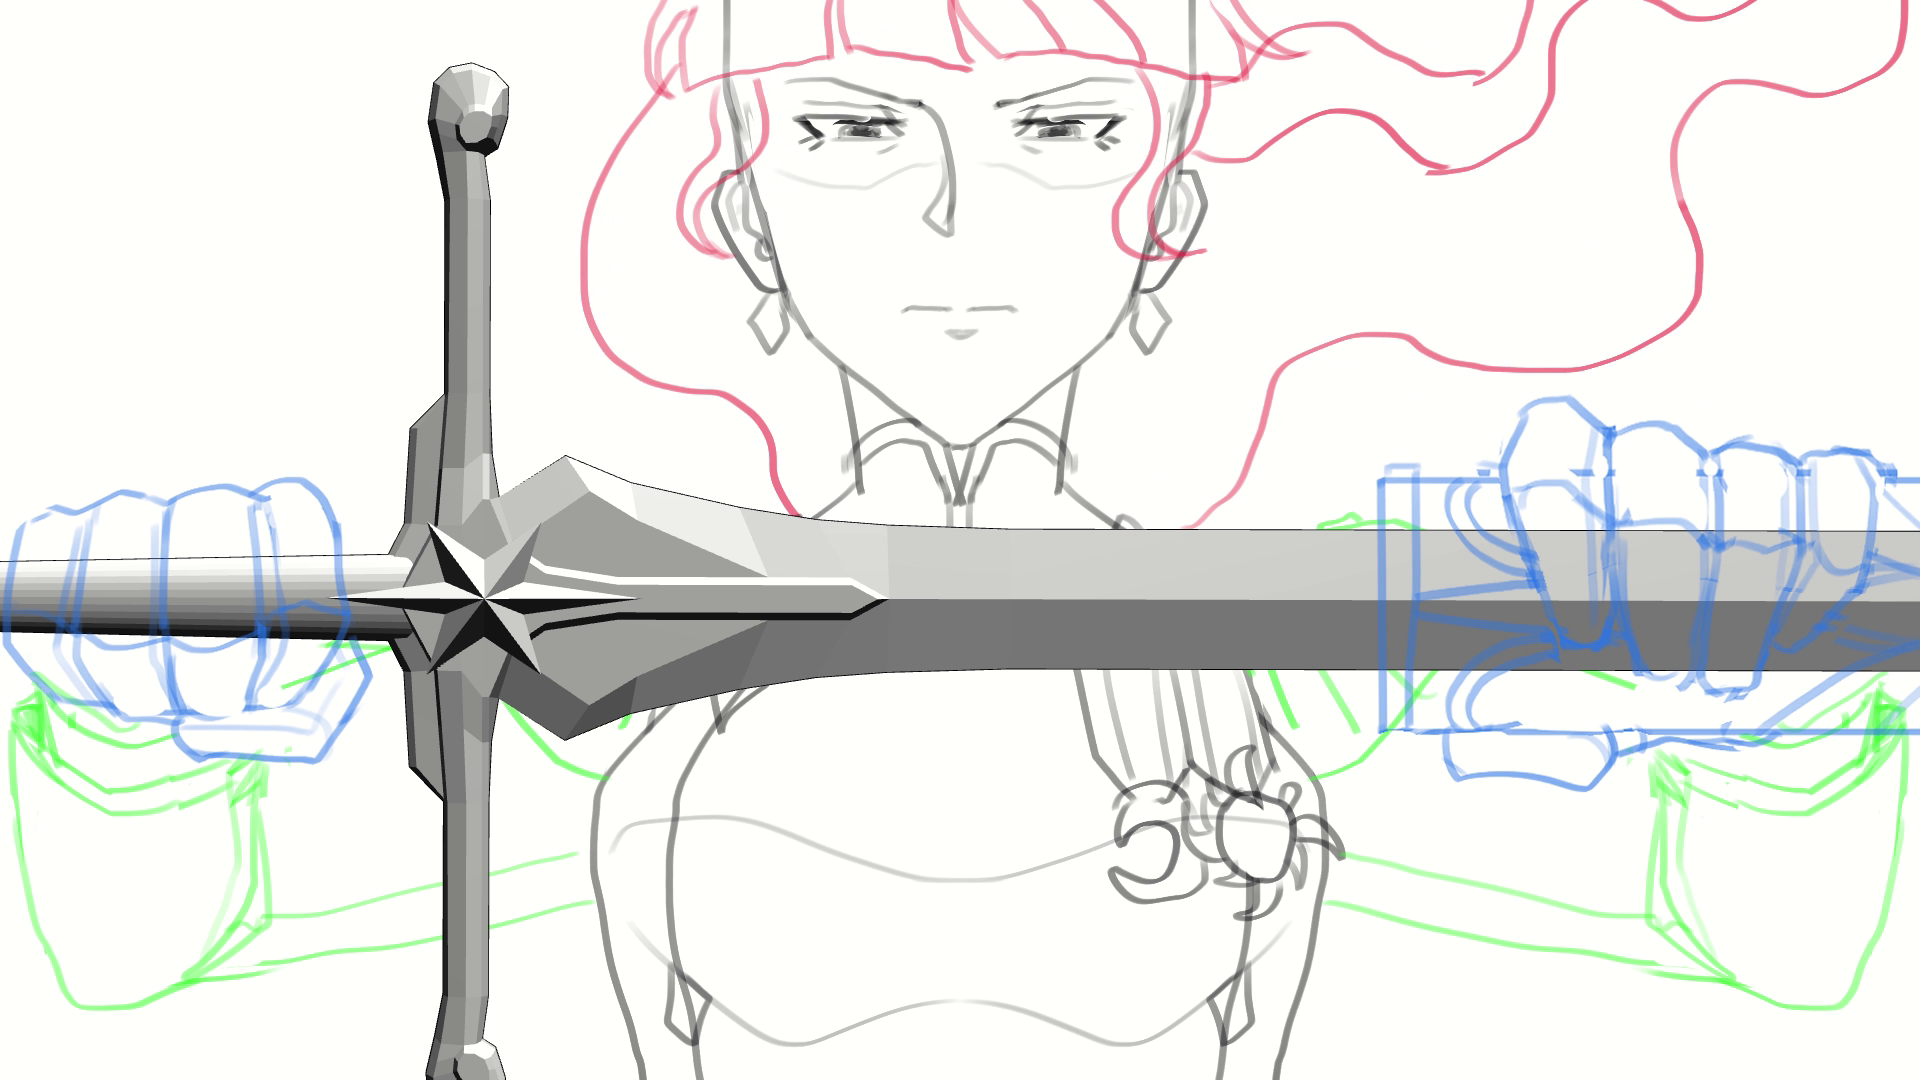
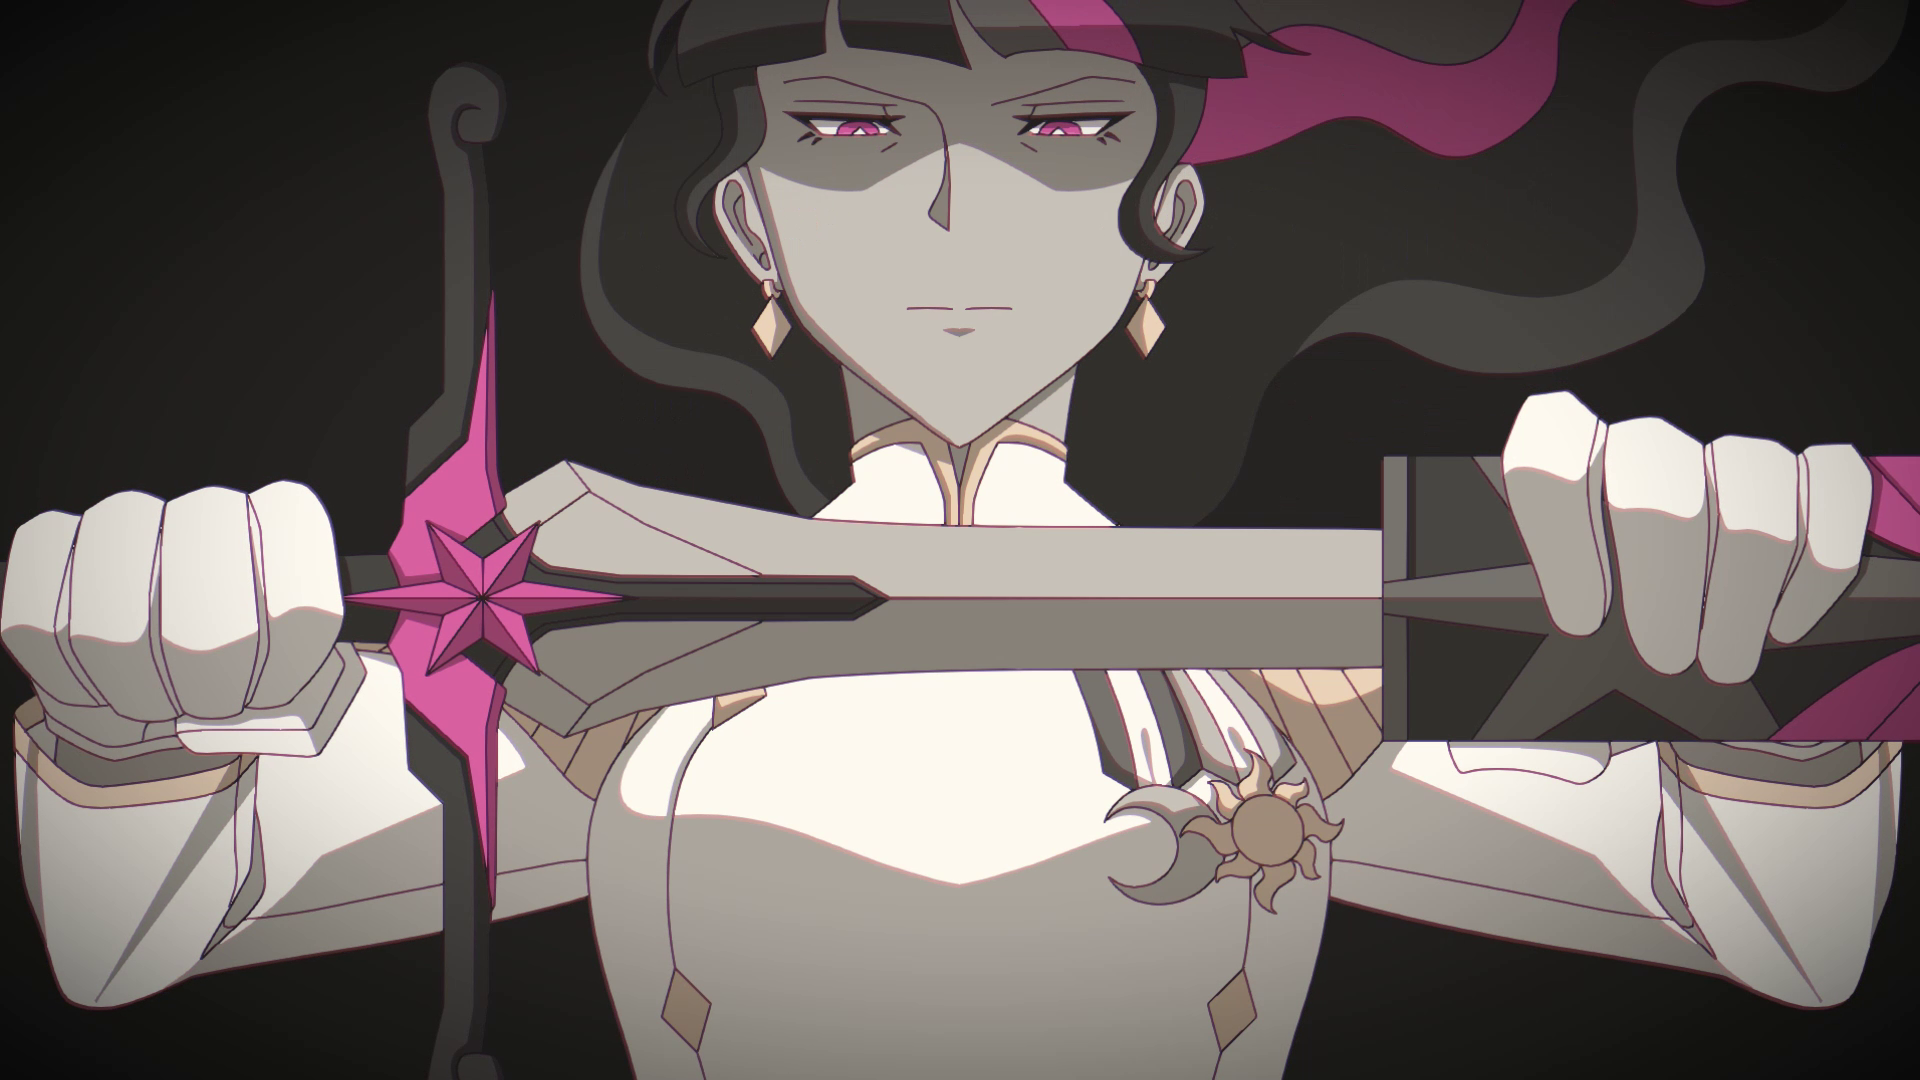
After I modeled the sword and imported it into Clip Studio, I then carried on with my standard process and finished the animatic.
Pre-Animation Preparation
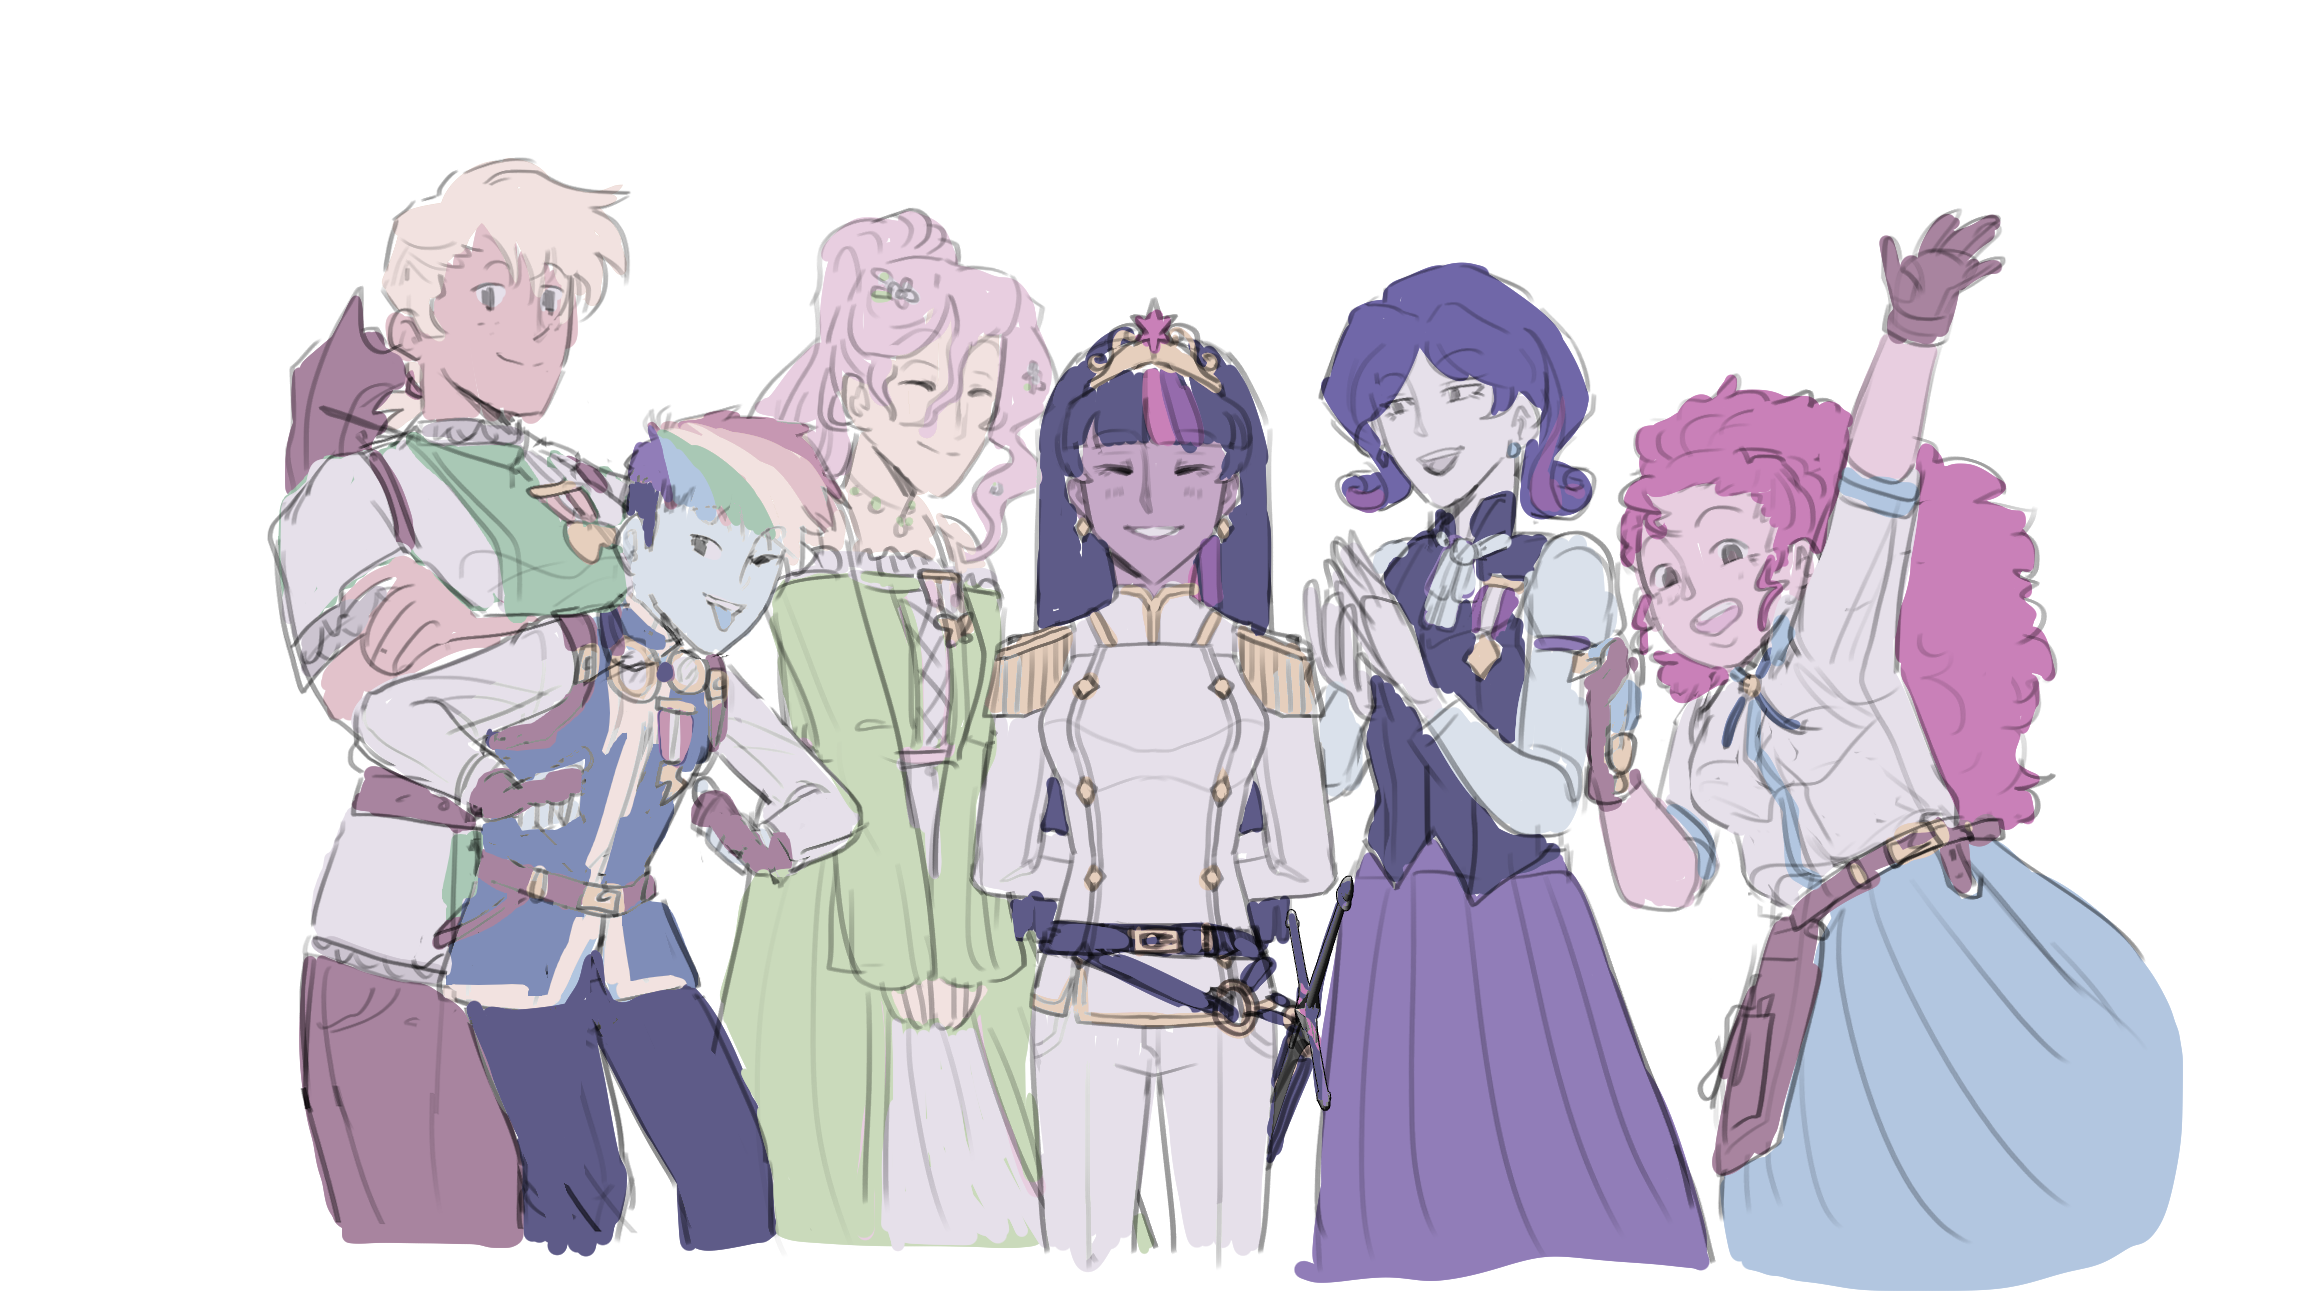
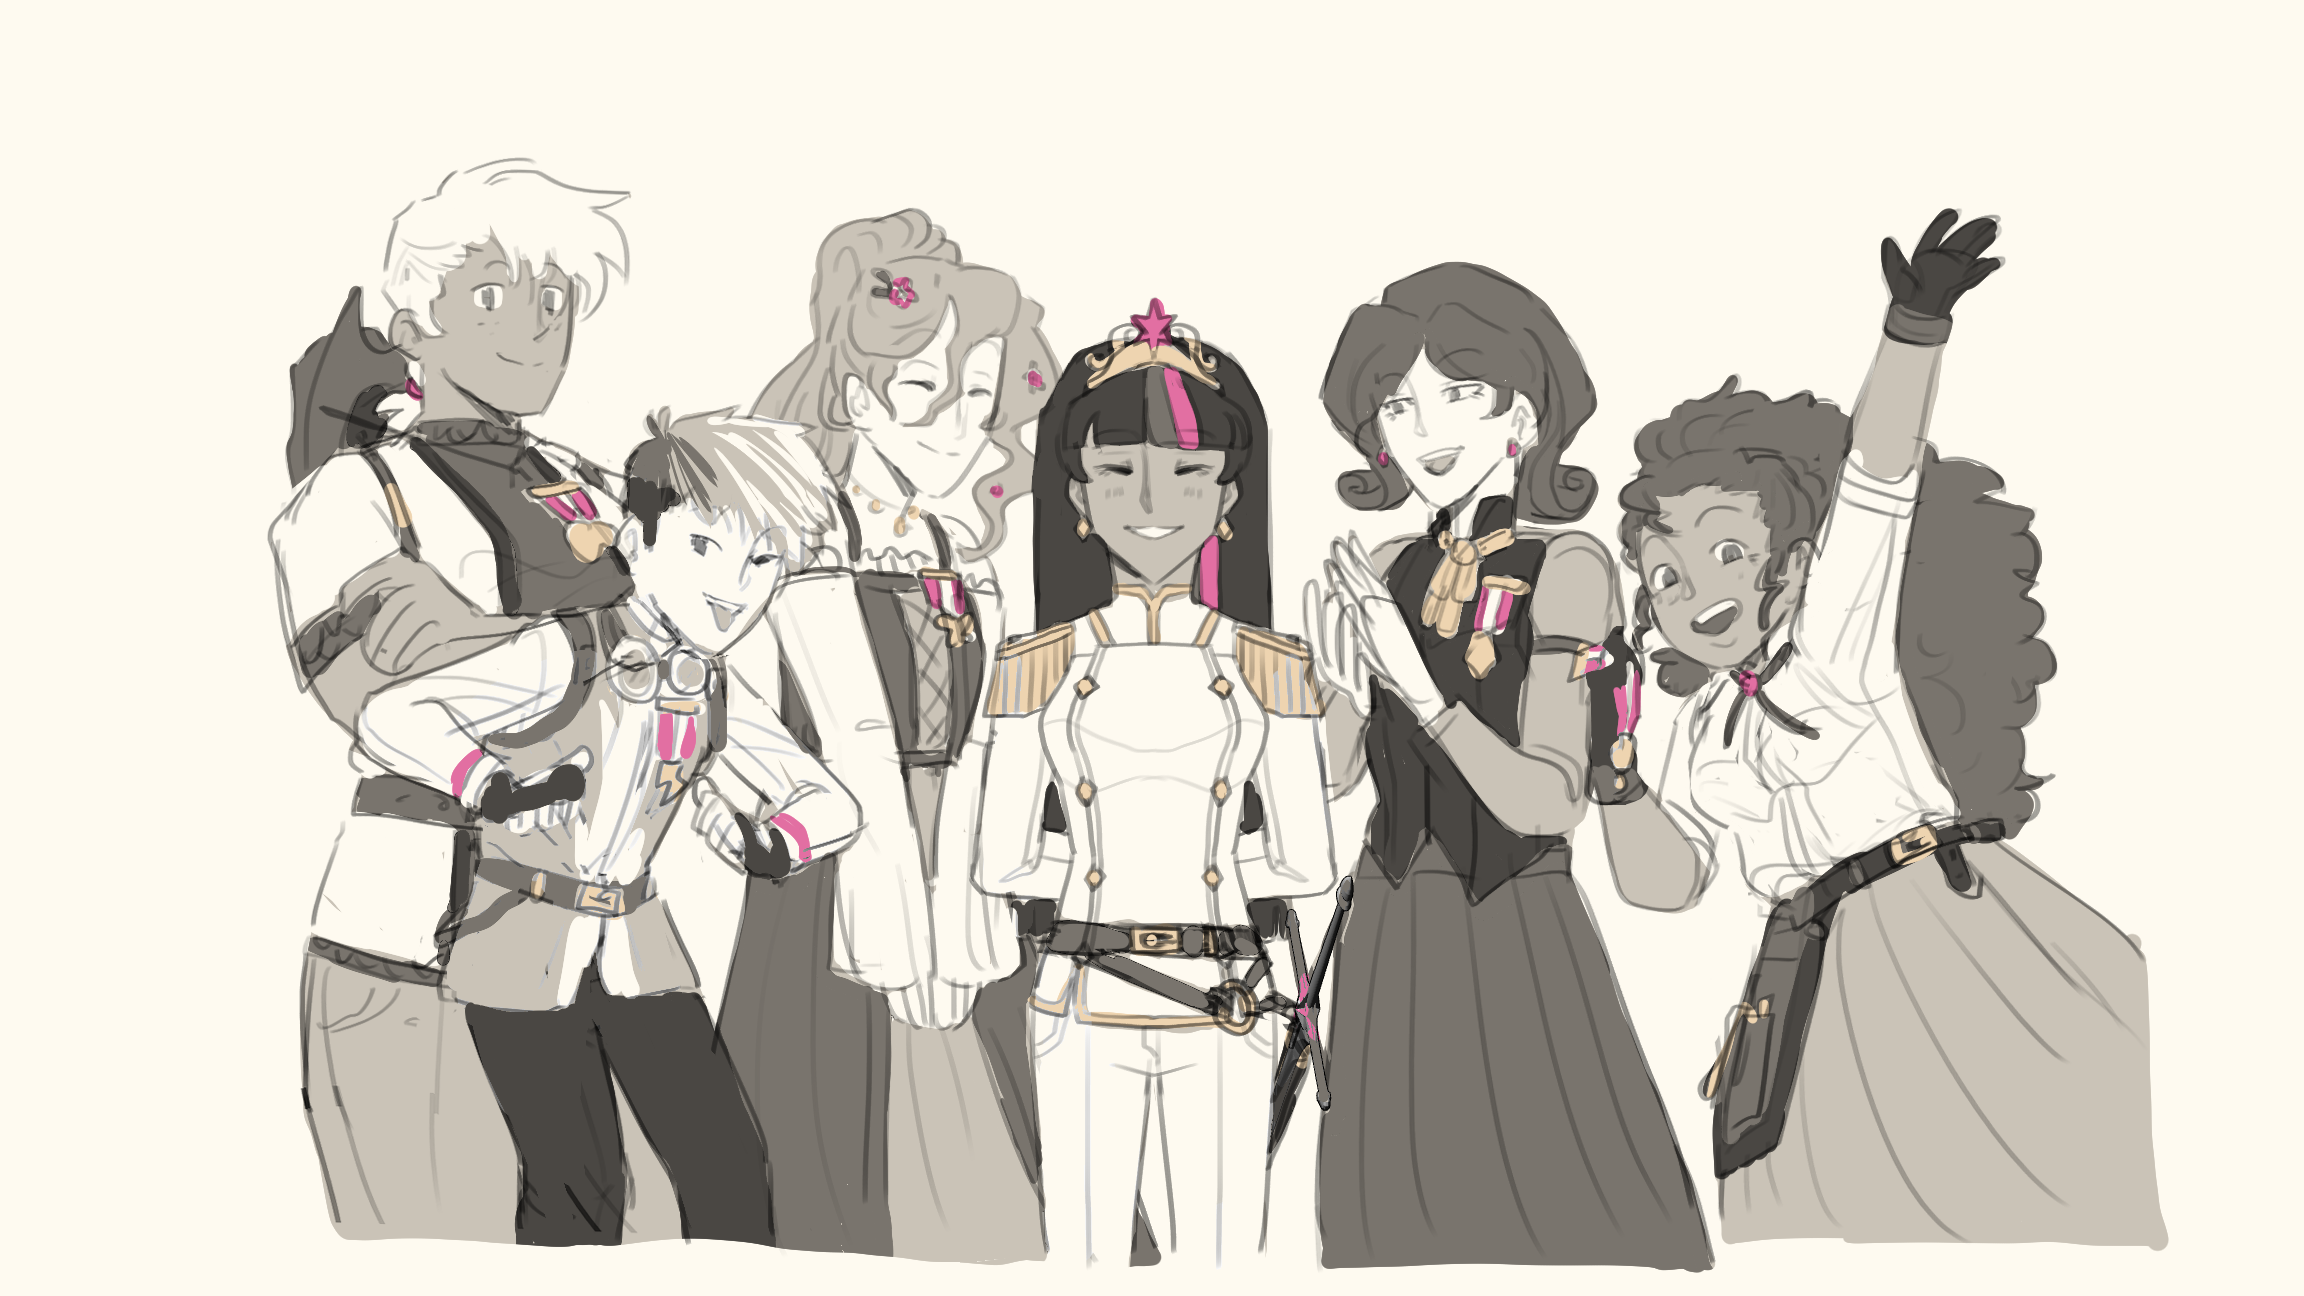
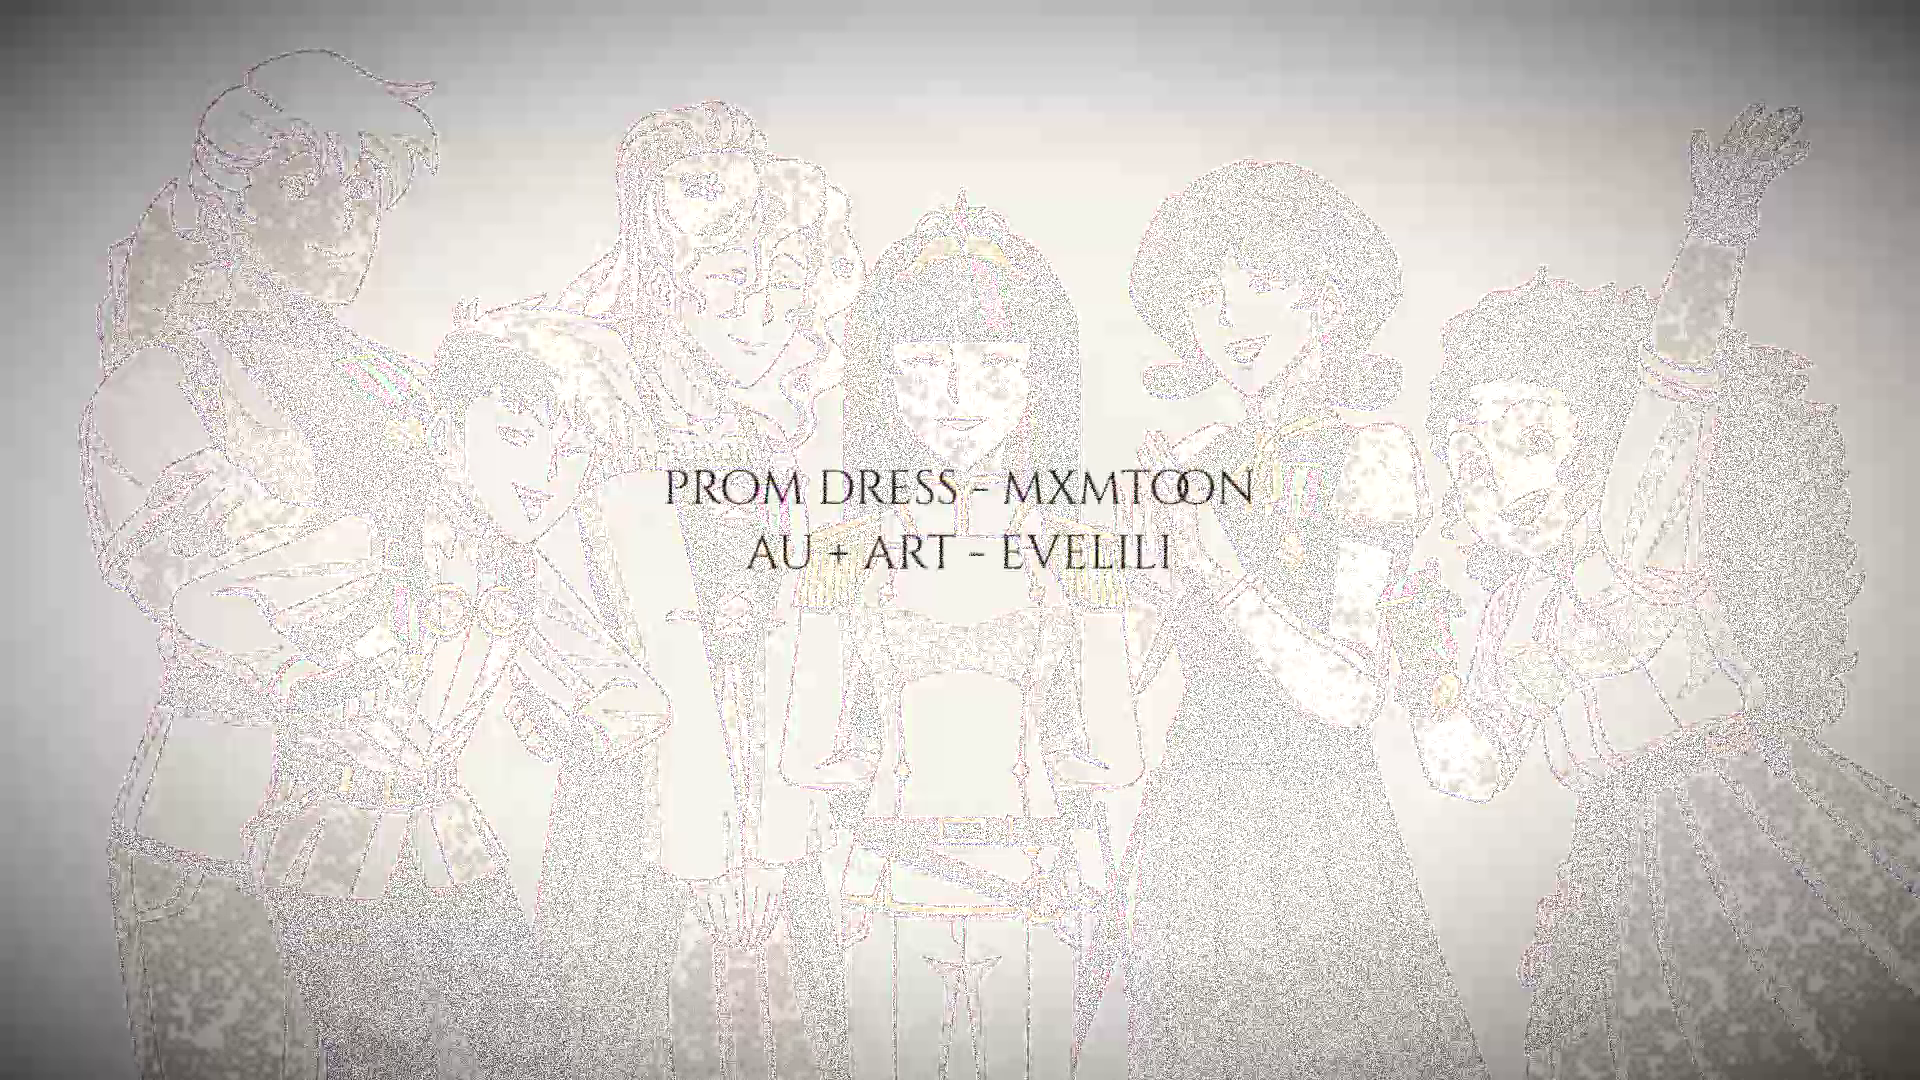
Before I started on the final animation, I first needed to figure out the colour palette and overall “style” I wanted to achieve. My previous animation used the actual colours of the characters and objects, which would have been fine to do again, but this time I wanted to try working with a limited colour palette instead. The characters from My Little Pony have very vibrant colours in their designs, and since this animation included some shots with six different characters, the colour tests I did were far too noisy for my liking. Instead, I settled on a more monochromatic palette with pink and gold as accent colours for certain details.
Animating
Despite how many times I say I've learned my lesson, I once again forgot to break the animatic file into multiple files for the different scenes. This didn't have much of an effect on my workflow, thankfully, but it did mean managing hundreds of layers, saving multiple copies of files so I could flatten things without worrying I'd lose something, and swearing that next time I'll remember to set things up properly, for real.

In terms of actually animating, I again followed the general process outlined in this tutorial. This time I put more effort into using multiple animation folders for the different “depths” of animation, rather than trying to do everything in a single folder. I had to consider this all the way back in the animatic stage, which you can see with the different colours used in the sketch to separate which parts I wanted in different folders.

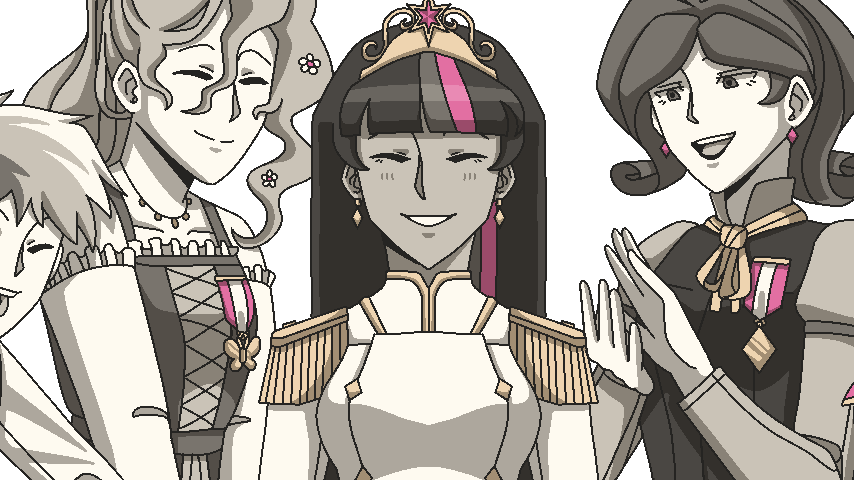
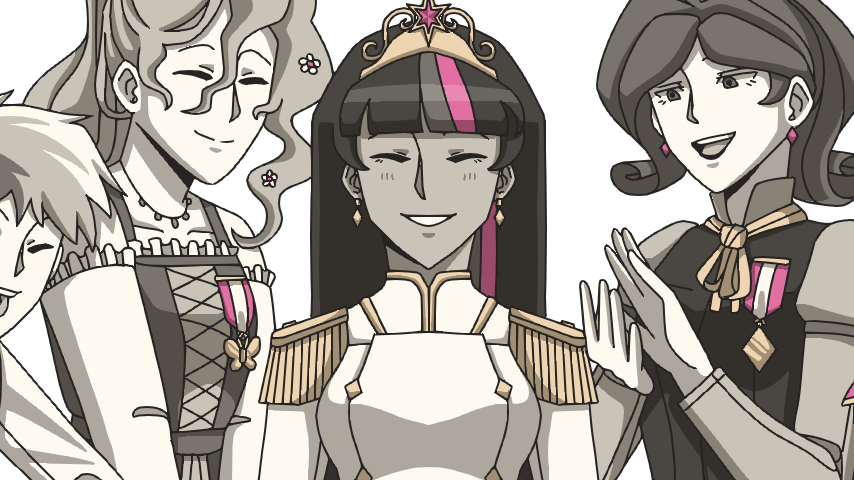
Once everything was lined and coloured, the final step was to “flatten” everything down into frames for export. I prefer to create “final” versions of each frame rather than work with the different layers since it's easier to edit together one set of frames, rather than having to match up every set of frames from every animation folder in the scene. And, since I work with aliasing to make the colouring process easier, the edges of the images need to be softened out before export to give it a more polished look.
Compositing and Editing
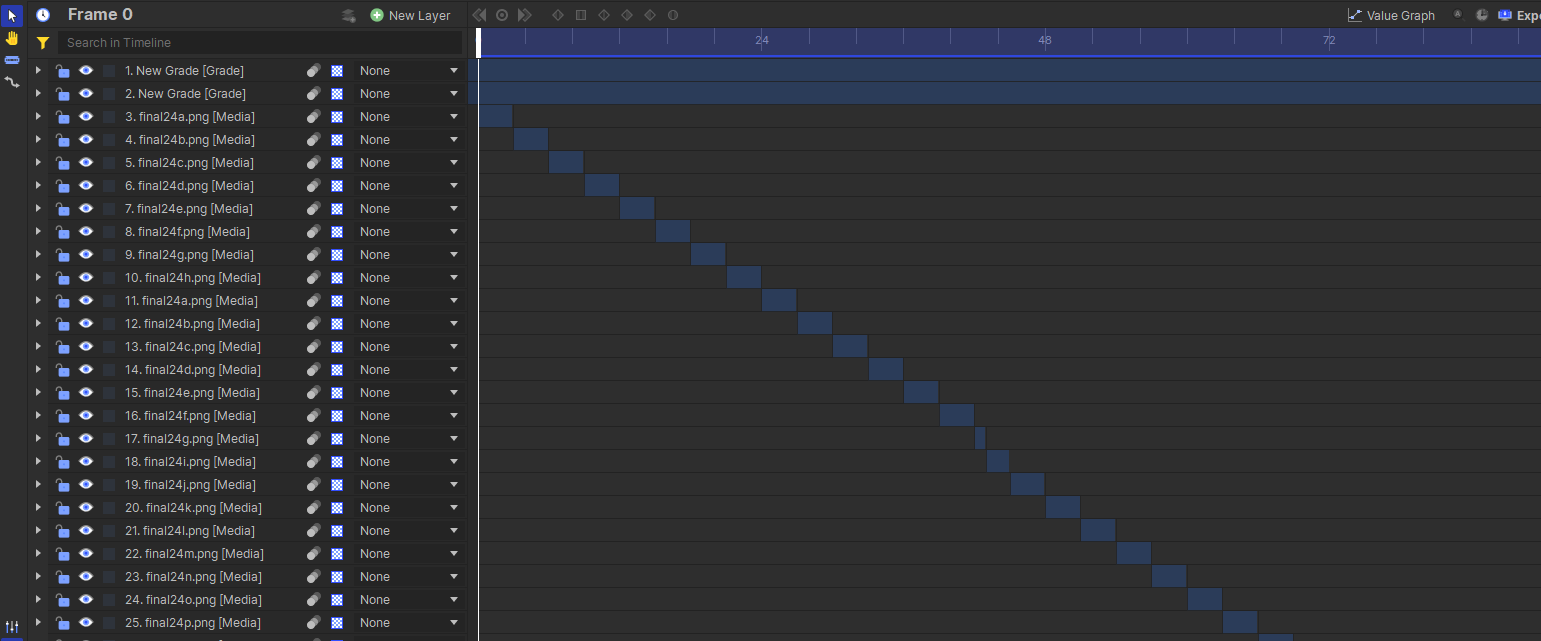
This time I ACTUALLY learned a lesson, and instead of putting every frame directly onto the timeline (as I had been conditioned to do since working with Windows Movie Maker), I instead created a composite shot for each individual scene first and then combined all the shots together in the timeline afterward. If I want to add any effects to a scene that take place over time, I can't do that if I'm working with a sequence of 40 different images. But clips are treated as a single entity, so they're the perfect solution for frame-by-frame animations like these.
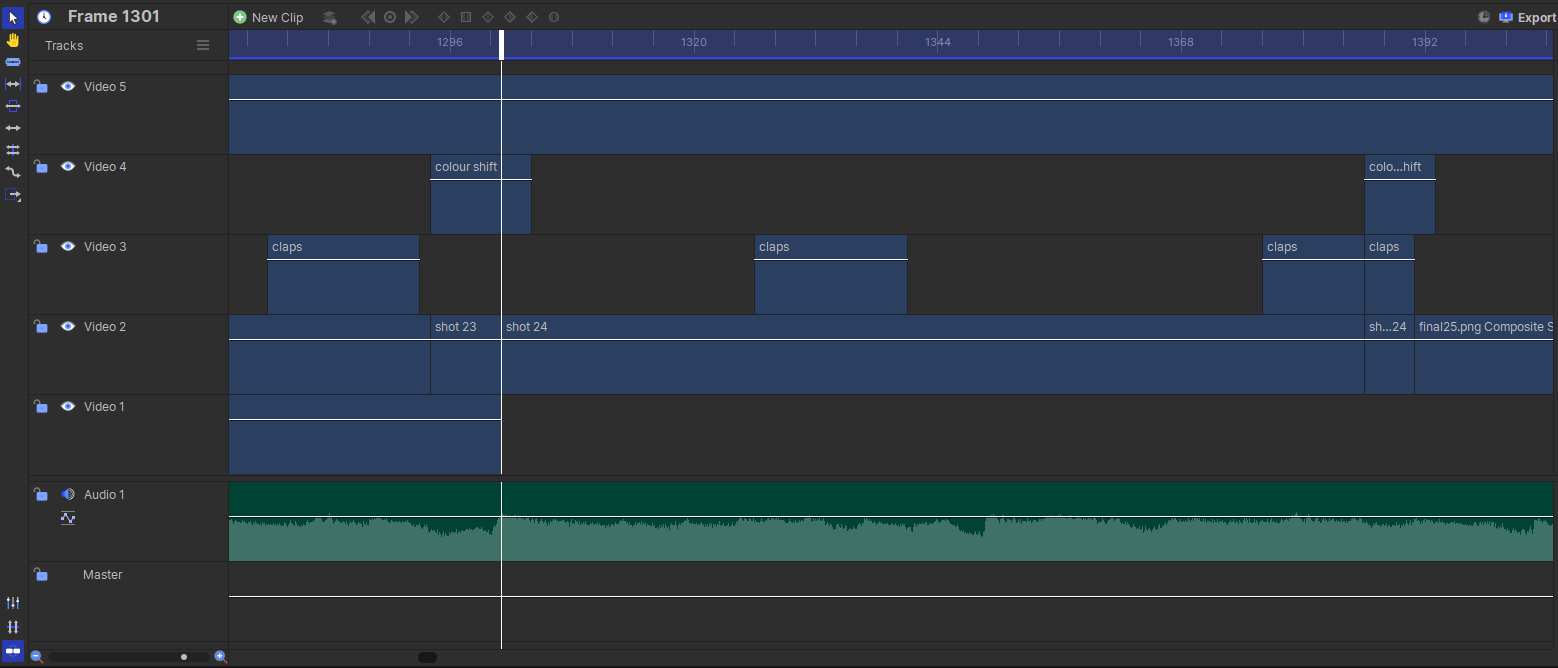
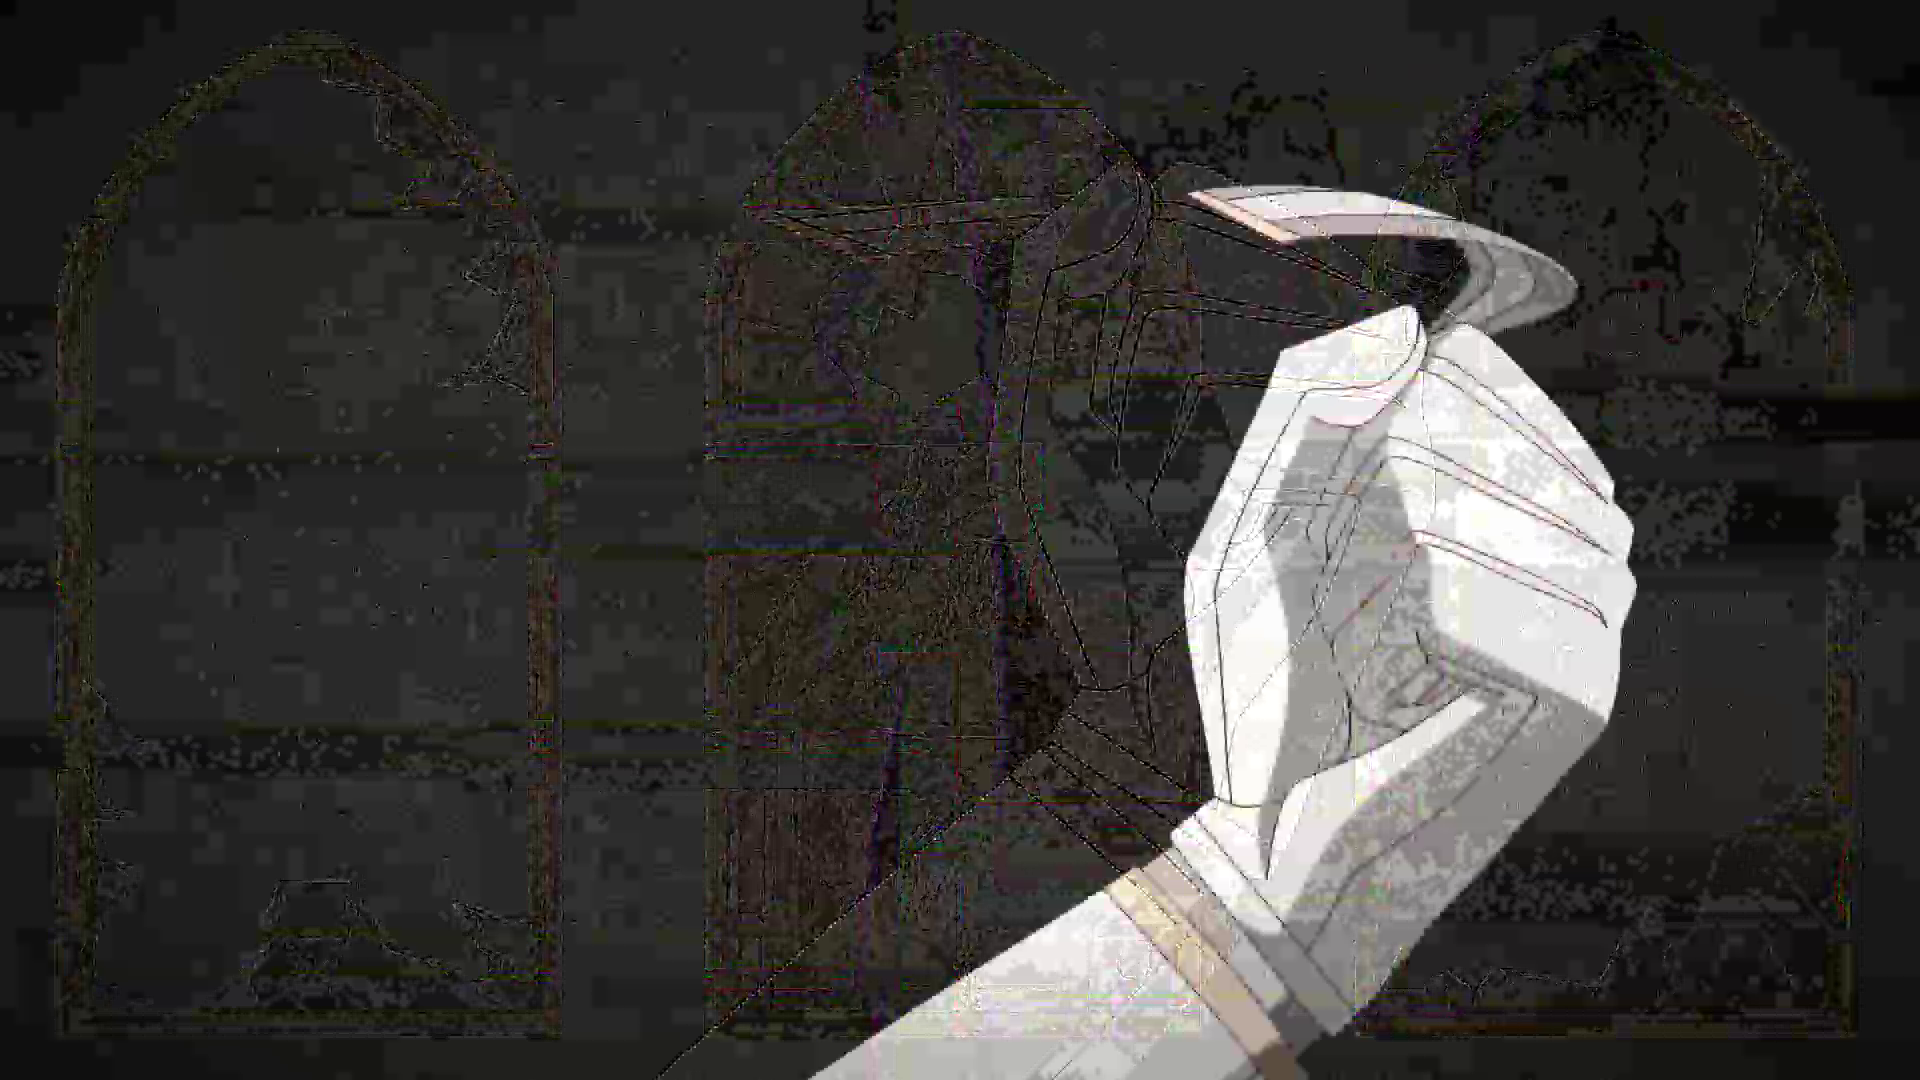
I also pushed my editing skills a bit and tried my hand at some generated effects with the “glitches”. I found it easiest for me to create one long composite shot with the glitch effect, then trim various parts of it and set the layer blending mode overtop of the whole animation, since often the glitches were used as a transition and trying to add them directly to the clips meant they wouldn't connect nicely between them.
Finally, I added some subtle chromatic aberration to each shot to set the atmosphere, as well as a vignette around the edges to give the flat colors some depth. Initially I had planned to use grain effects in some shots, such as in the scene with the shattered portrait, but I unfortunately found out that no matter how cool it looks in the editor, video codecs and noise don't mix well. So those effects had to be scrapped.
I learned a lot about animating and editing over the course of this project, and I am incredibly proud of how it turned out—exactly like I saw in my head, except now as an actual animation that other people can see too.
