Villain Animation
Tools: Clip Studio Paint, Hitfilm Express
Skills: Animation, Video Editing
Overview
I have a tendency to animate when I'm stressed. I don't know why that is—perhaps the tedium of inbetweens is relaxing in a sort of terrible and backward way. But no matter the reason I started, I nevertheless found myself once again sitting down at Clip Studio with nothing but my stress, my RSI-ridden hands, and a terrible idea: what if I created an animation to promote my (at the time) upcoming fanfiction?
It didn't seem like a bad idea back then. I had a song—Villain by Stella Jang—and a concept drafted up, and I had a reasonable amount of free time that summer to work on it (if I ignored the fact that my free time was supposed to be for writing). Plus, I hadn't animated at 24fps in a while and wanted to give myself a refresher. What could possibly go wrong?
Goal: Create an animated trailer to promote a story to a larger audience
Animatic
I started out by boarding each scene in reference to the lyric table I had prepared. When I animate in time to a song, I start by putting the song lyrics in one column of a table and outlining the details of which scene appears during which line in another column. This way I can keep track of how to time certain aspects of the animation to the beats of the song.

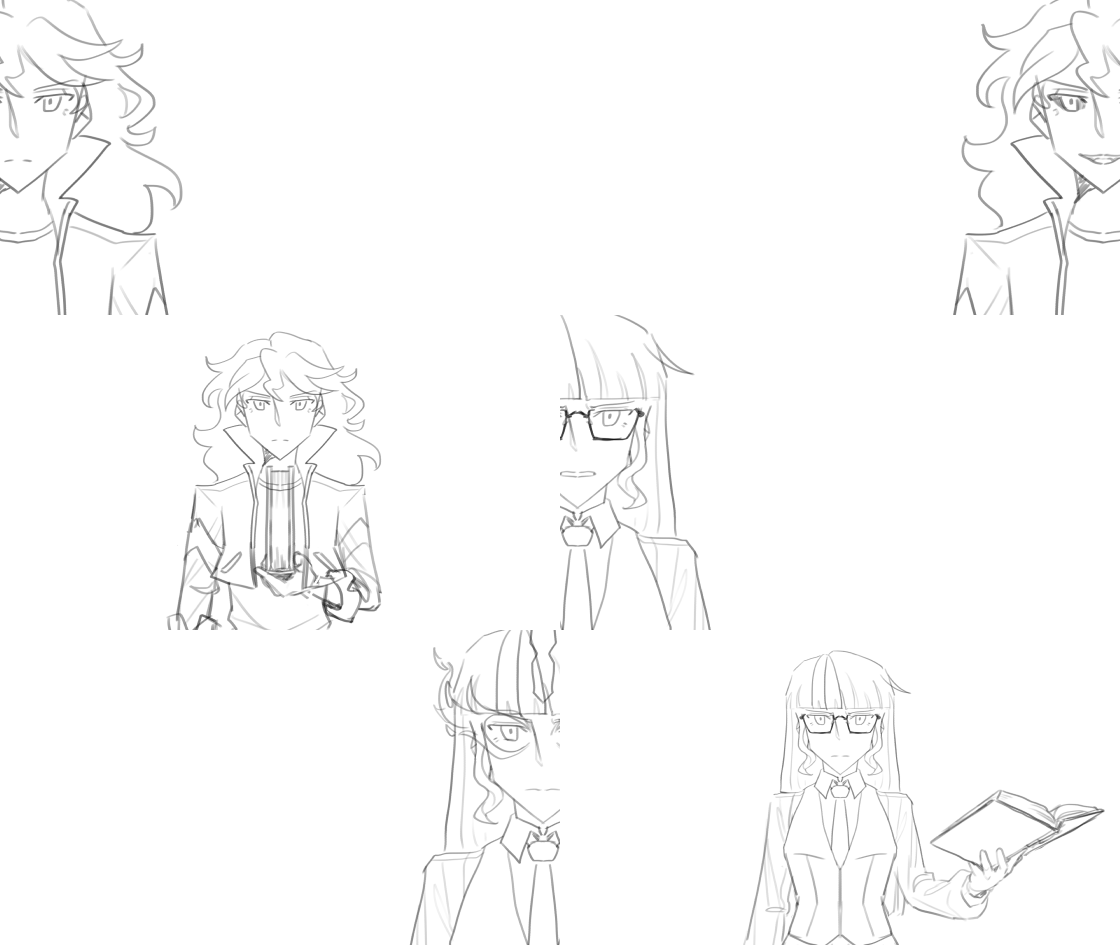
I often board an animatic from start to end, but in this case since I so desperately wanted to animate at 24fps I decided to start with one of the two tedious 24fps shots instead. So, I boarded a few other shots to warm up, got into the animating groove, set out to tackle the first 24fps shot, and then—
A Terrible, Unfortunate Accident
The bad news: Computers are not infinite magical resources immune to the elements, and in my hubris (animating, watching streams, and playing TFT all at the same time in the middle of a summer heatwave), my poor laptop couldn't take it anymore. It died while I was exporting a WIP of the first 24fps shot, and the minutes and hours and days and weeks that followed were easily some of the worst in my life. I didn't have backups of anything from the entire summer. If my SSD had failed, I would have lost the entire animation as well as many other more important things.
The good news: I now have the privilege of saying Twilight Sparkle killed my laptop.
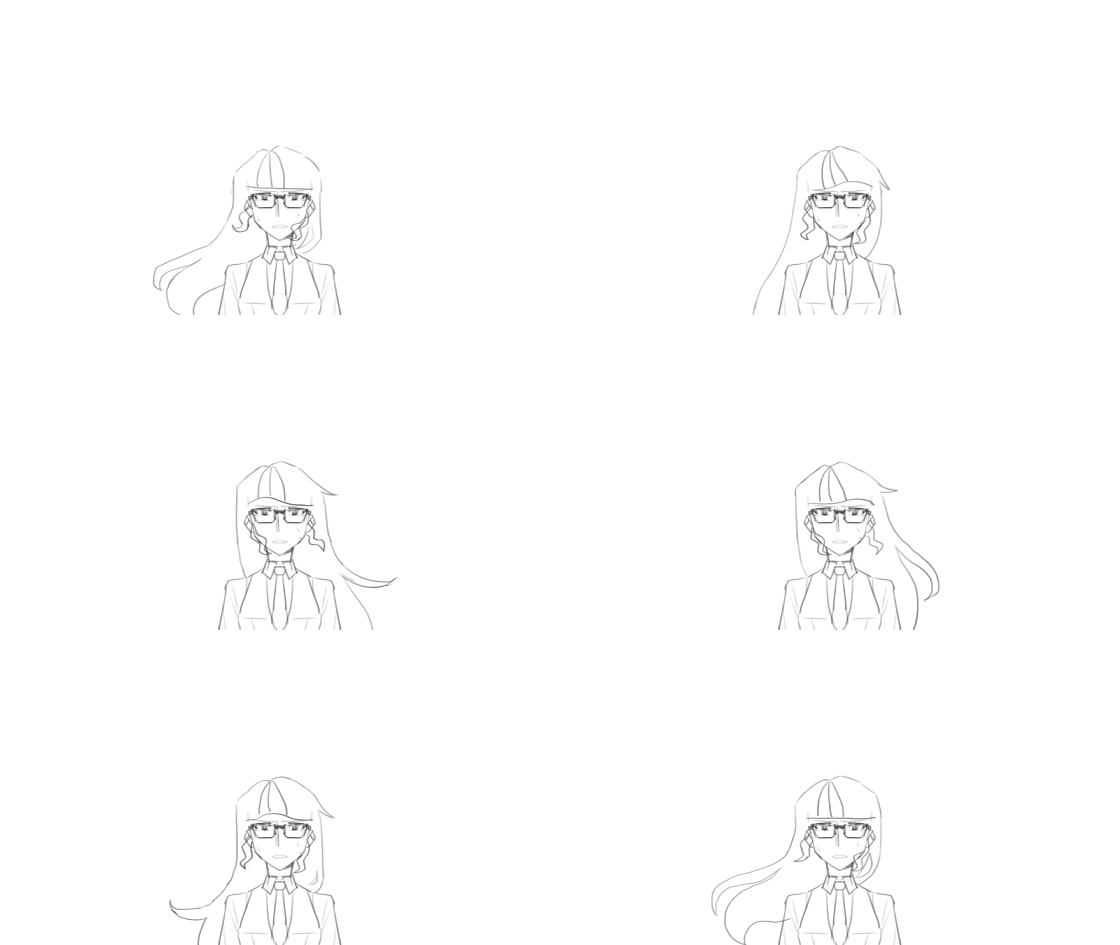
Recovery
Thankfully, I was able to recover my SSD and everything on it. It was an expensive lesson to learn—it occurred around a week before I started my master's, which was just fantastic timing—but I think it was one that I needed to experience, no matter how awful it was while I lived it. I have backup systems in place now, so even if some other terrible occurrence rears its head I at least know that I've done my best to prepare for it.
However, this put a damper on my drive to work on the animation. Once I got set up with my new PC, I finished the remaining shots, exported the animatic, and immediately proceeded to ignore the project for the rest of the year.
Animation
Of course, stress breeds productive procrastination and productive procrastination begets animation, and so when exam season started up in December I pulled the classic Lili maneuver of “divert all your stress from school into the arts to cope”. And so, I finally came crawling back.
The animation process I follow is outlined in this tutorial. I use the same tools they provided, and the general workflow is lineart, then colours, and then flattening with an auto action to smooth out the aliased edges for the final frame.
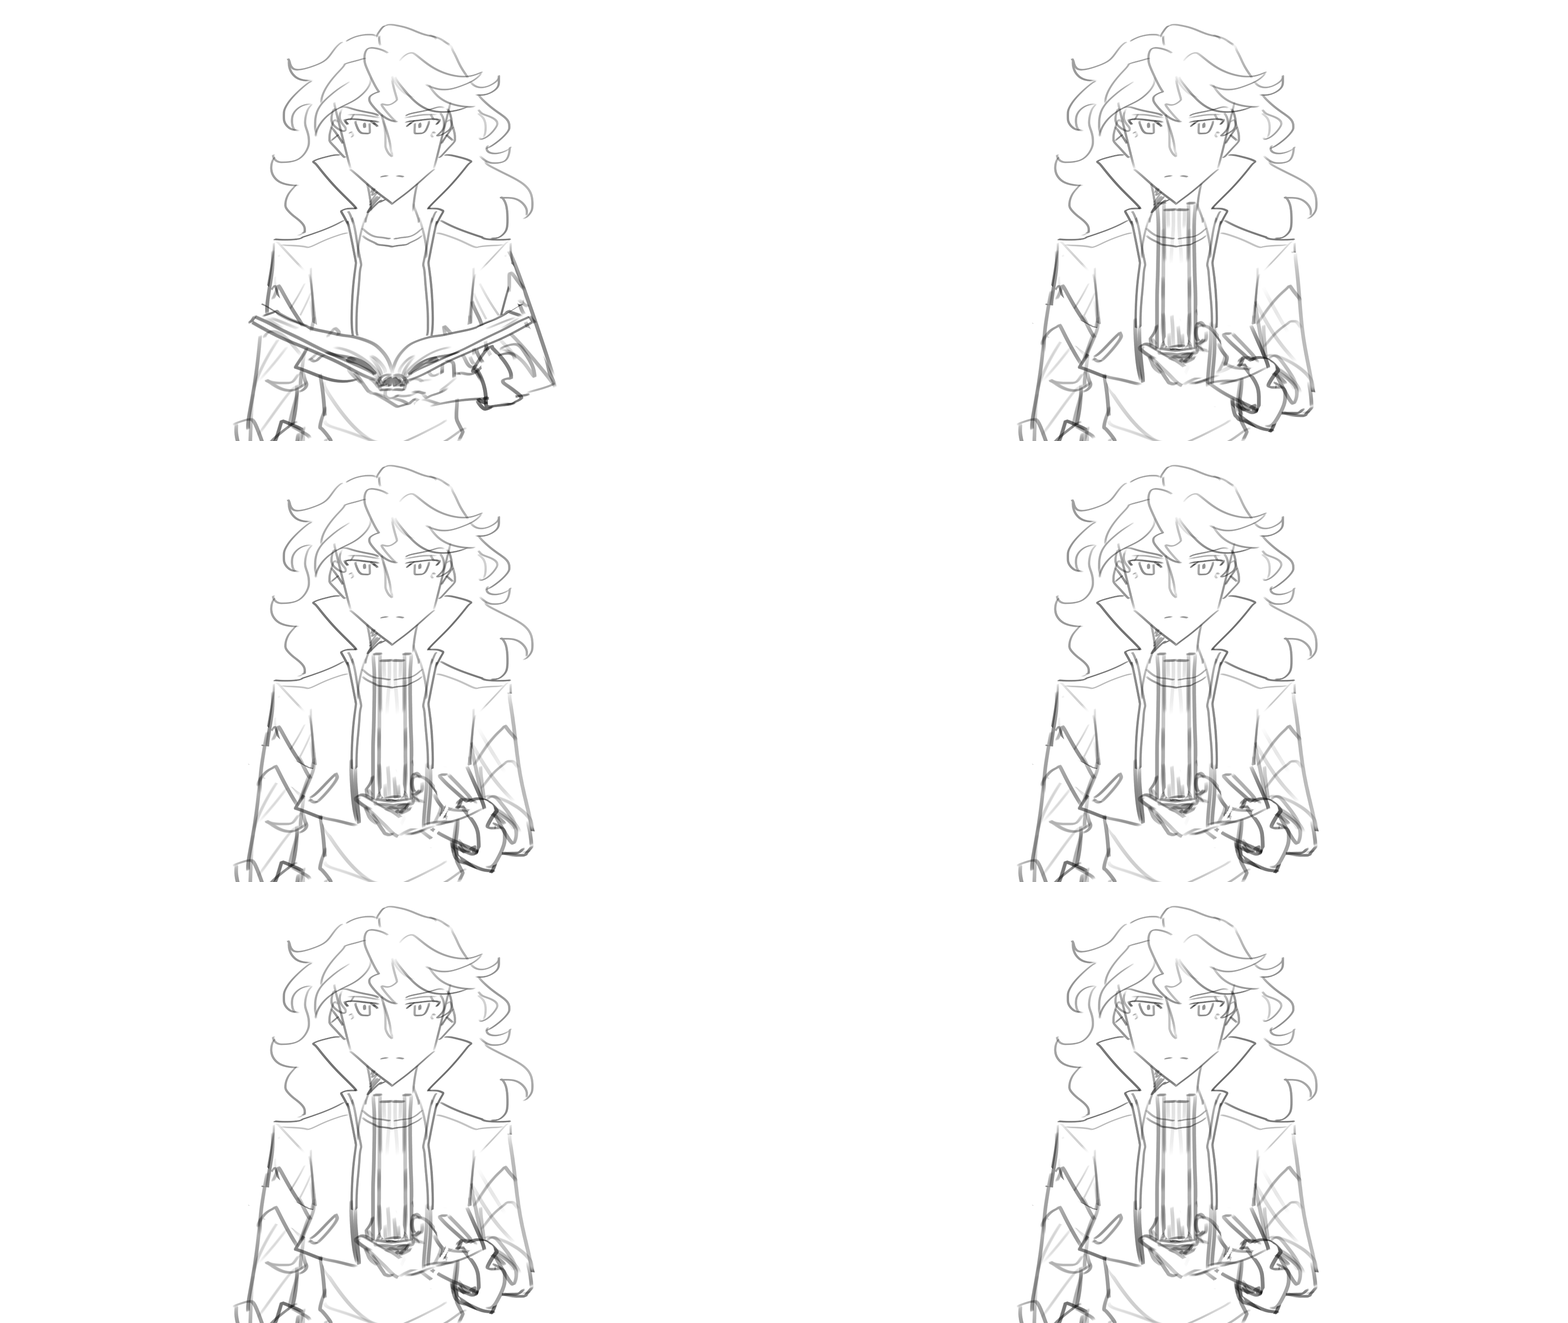
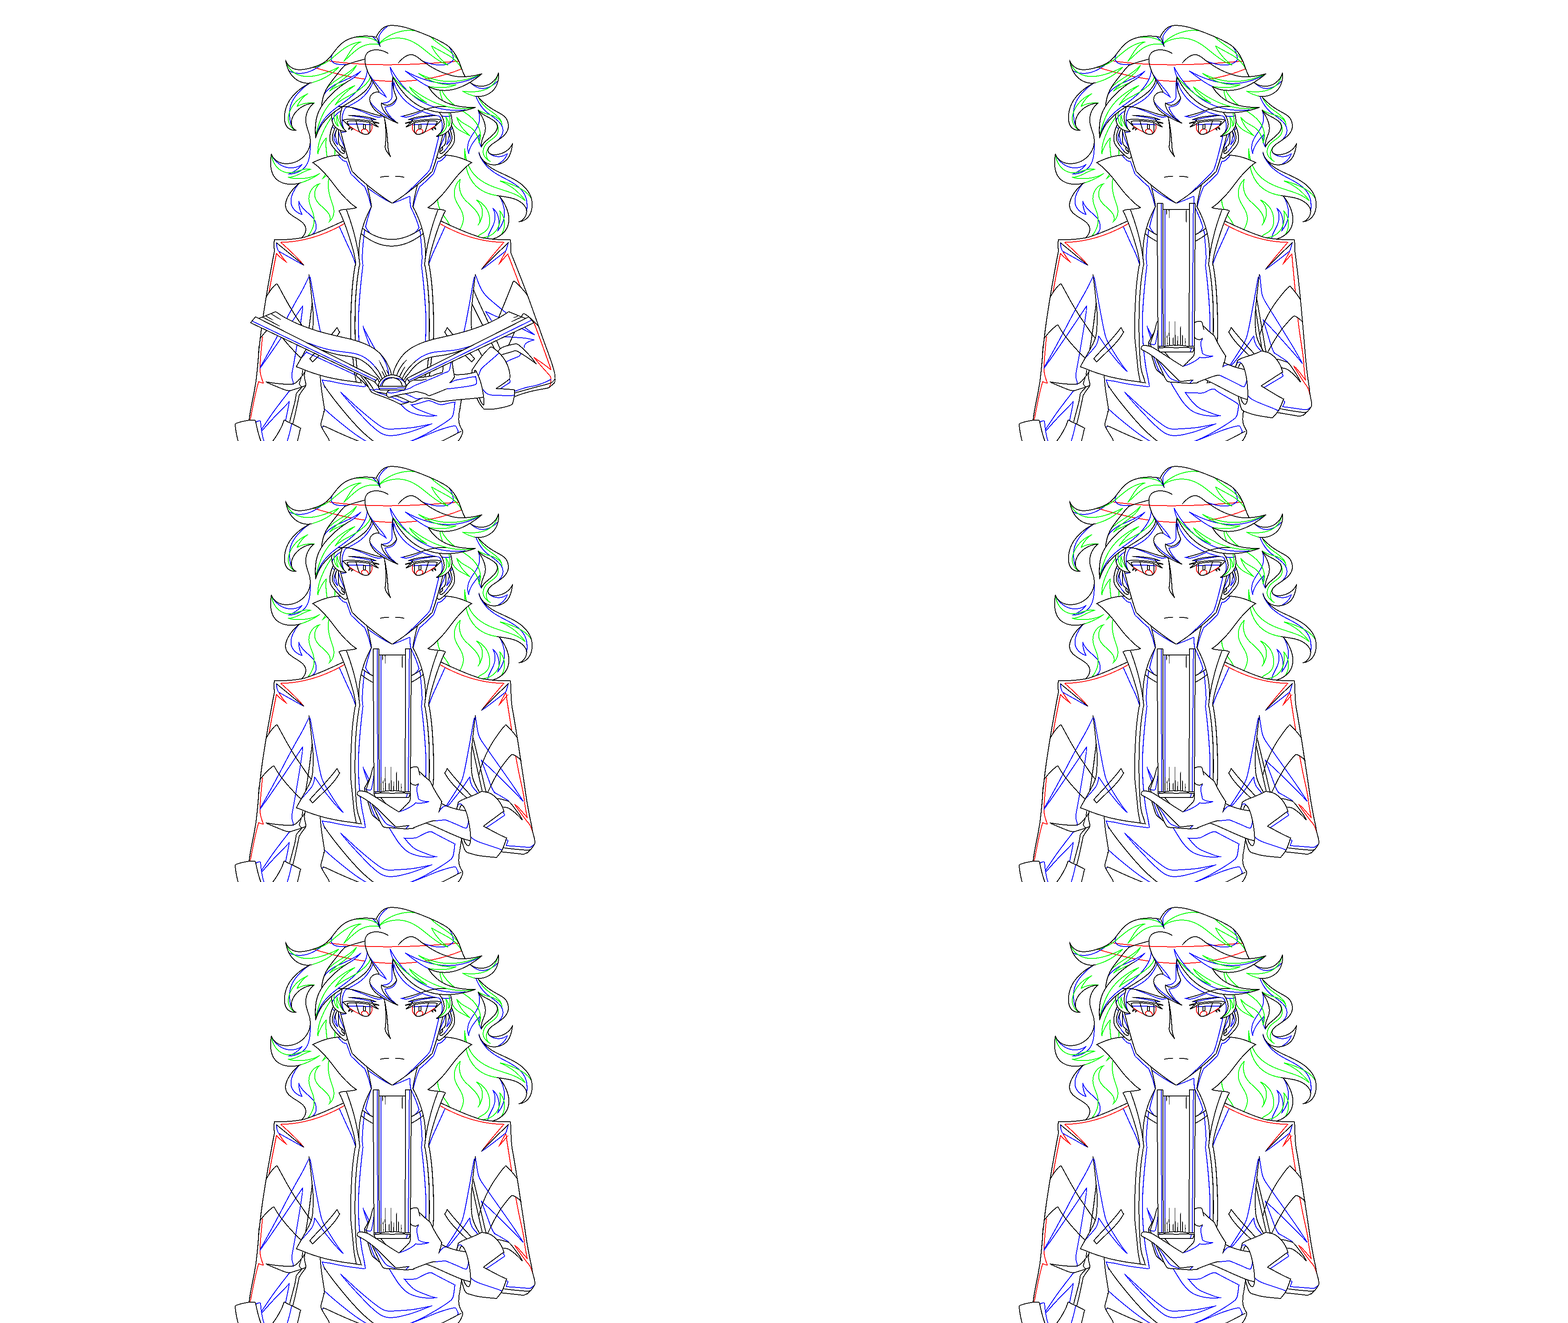
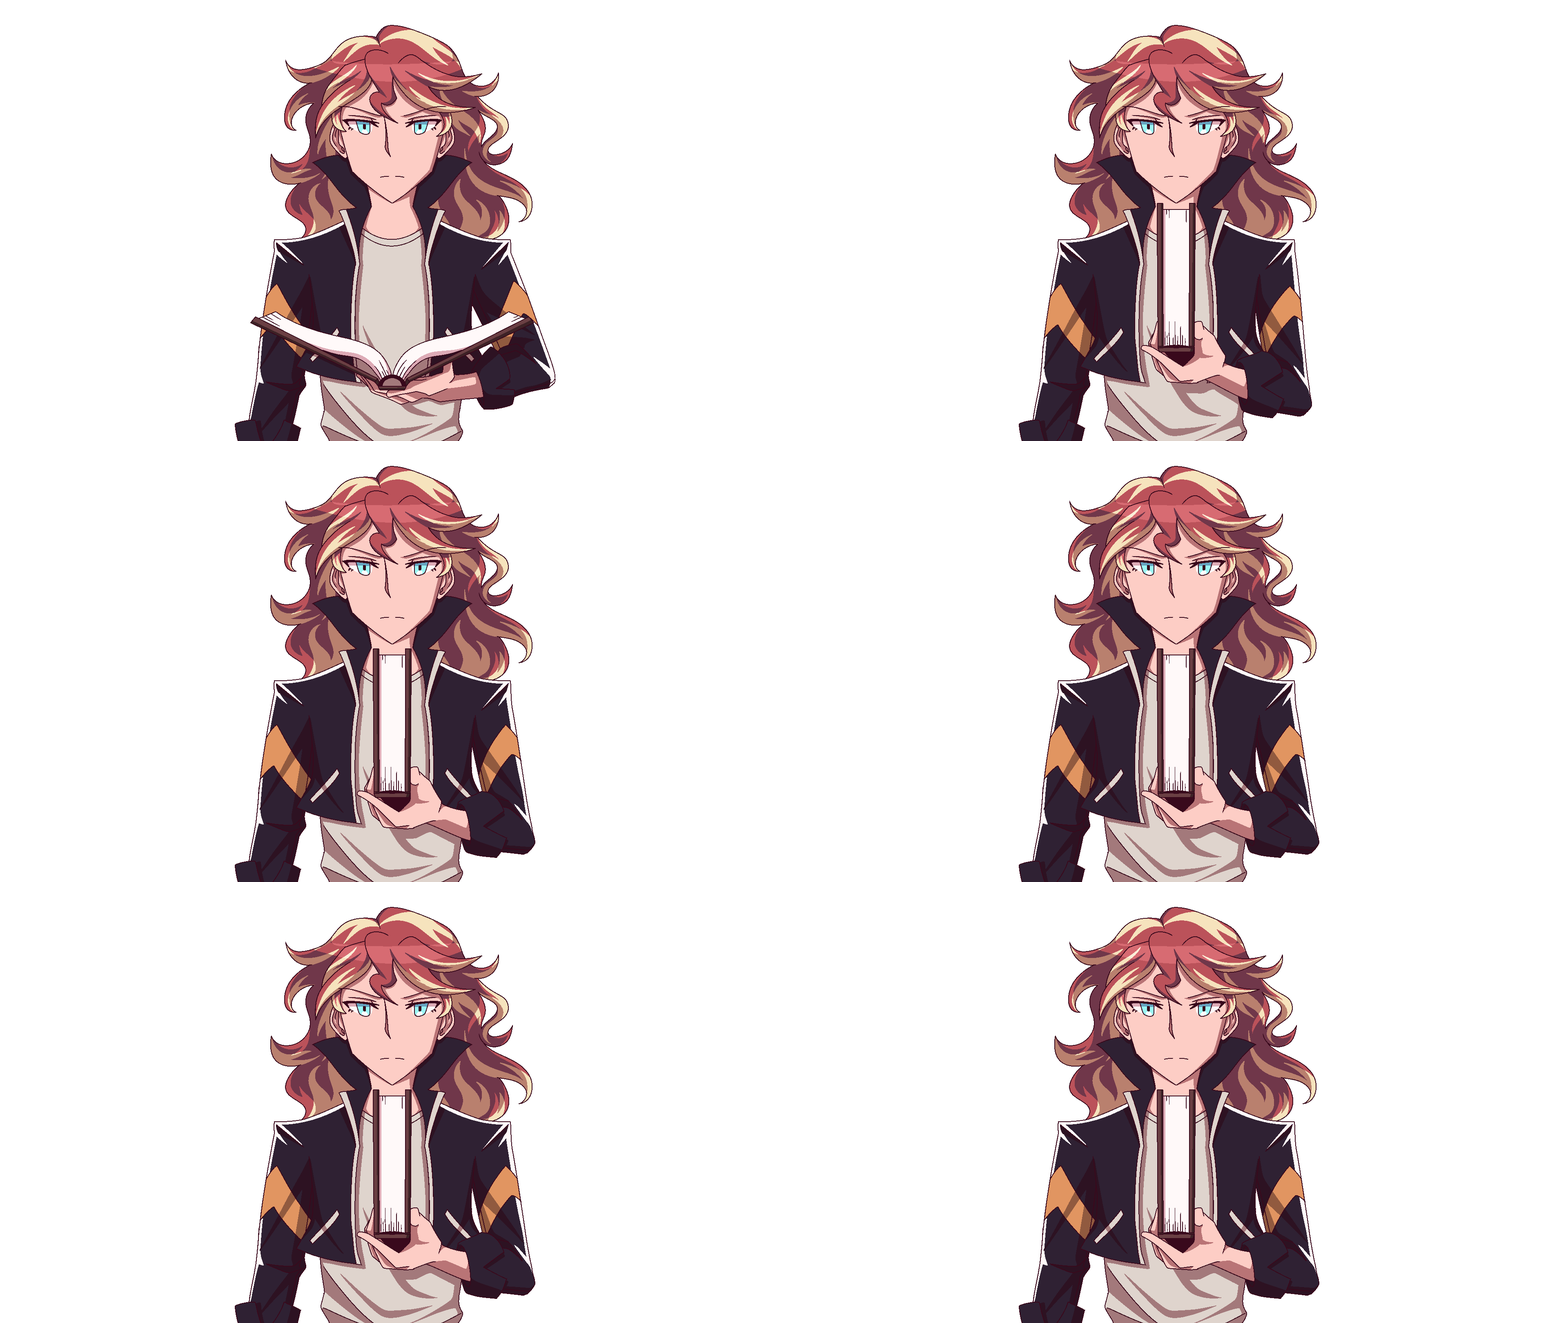
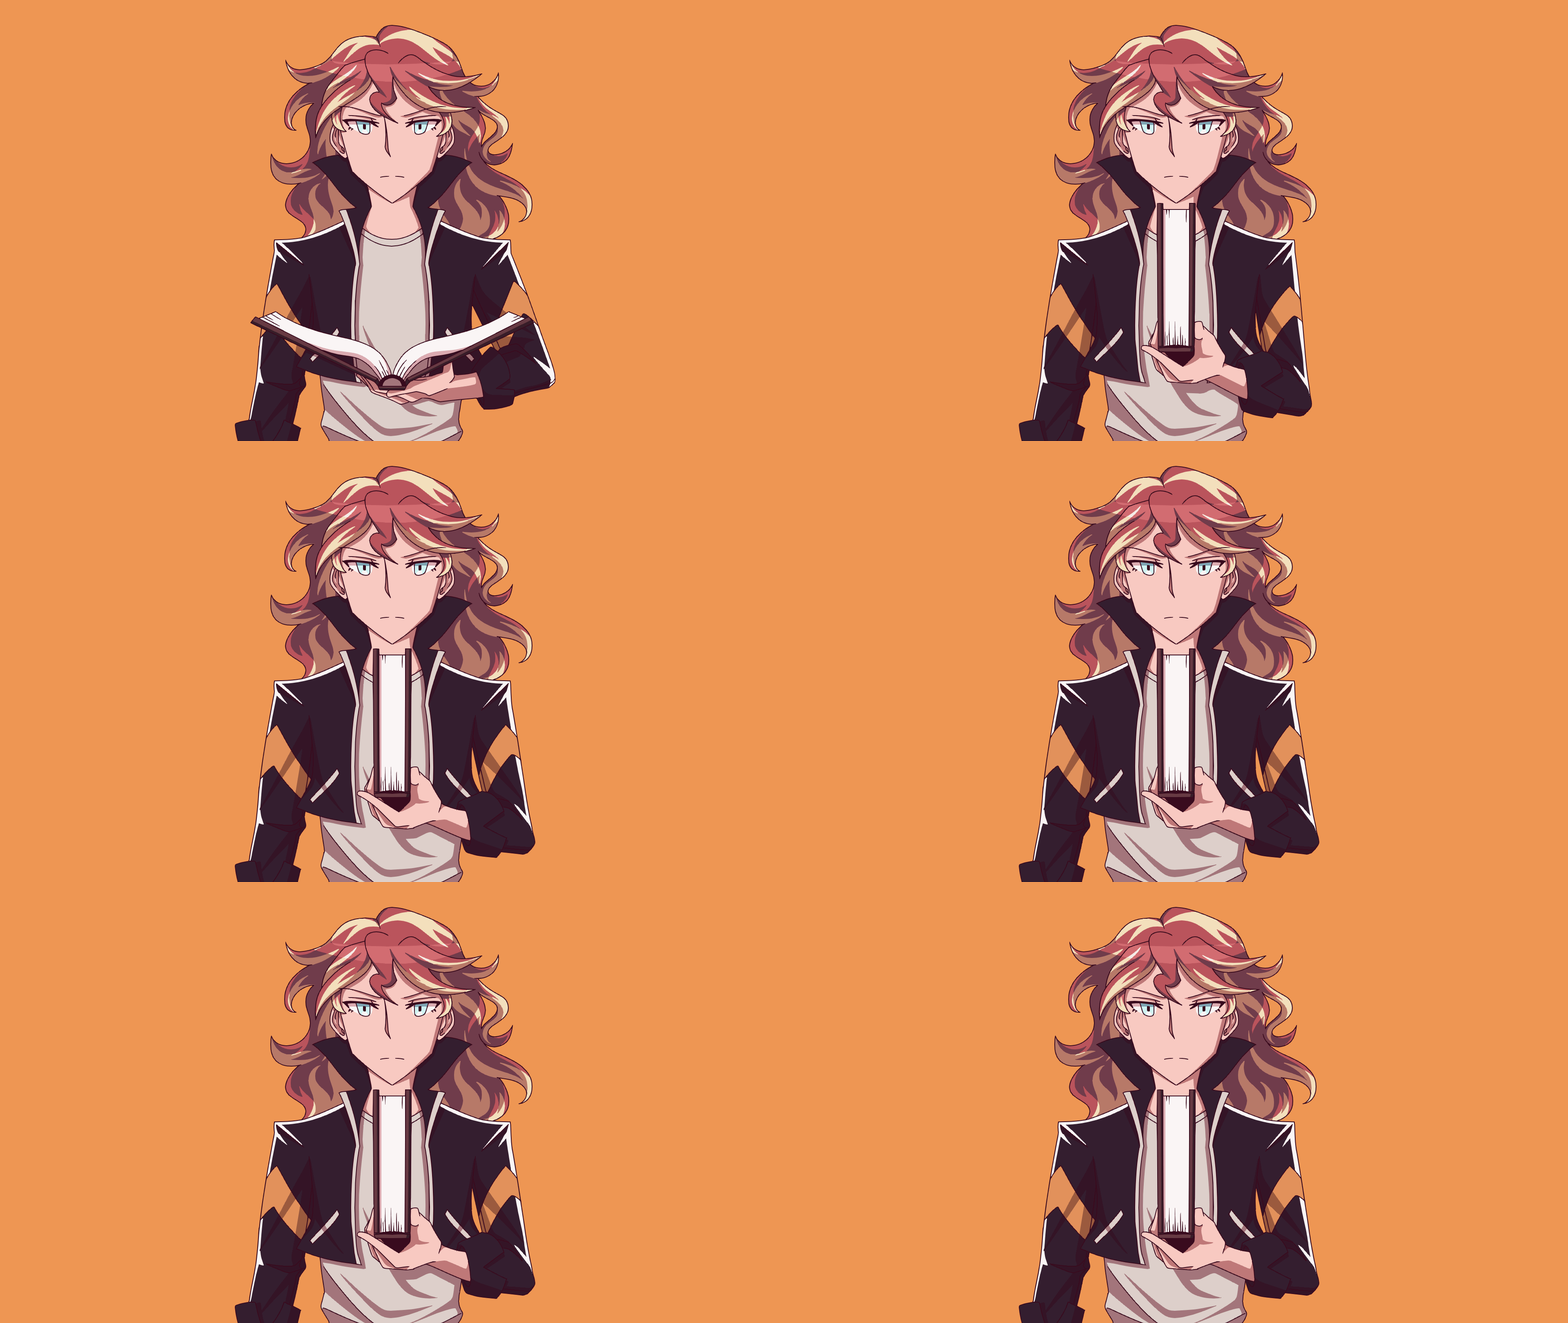
I did run into some challenges, such as with the file size, because surprise! The three month break I took meant that I forgot to separate each scene out into individual files before I started animating, and once again I was forced to contend with ridiculous layer counts and file sizes. In the moment I told myself I'd learned my lesson for next time, but now as the future version of me creating this writeup I can confidently tell you that I did not :)
I also had created the animatic in a single animation folder, with a few additional folders for the layers in the 24fps scenes, so the vertical depth of the animation was incredibly disorganized from the start. This compounded when I started on the shots that had multiple moving parts, and it became incredibly challenging to work with the file due to its lack of structure.

Despite the mess, I somehow managed to finish each shot and flatten them down to frames. Once I exported everything, I then moved to Hitfilm Express to edit everything together.
Compositing and Editing
I had done some minimal editing for my K/DA RPG animation, but this was the first time I had really put in the effort to polish an animation. The first challenge was the lyrics—I wanted words to appear on the beat for certain scenes, as well as include both the Korean lyrics and English translations for those lines. This was a design challenge in and of itself, and I put a lot of effort into designing the layout, transitions, and impact of every line in the video.
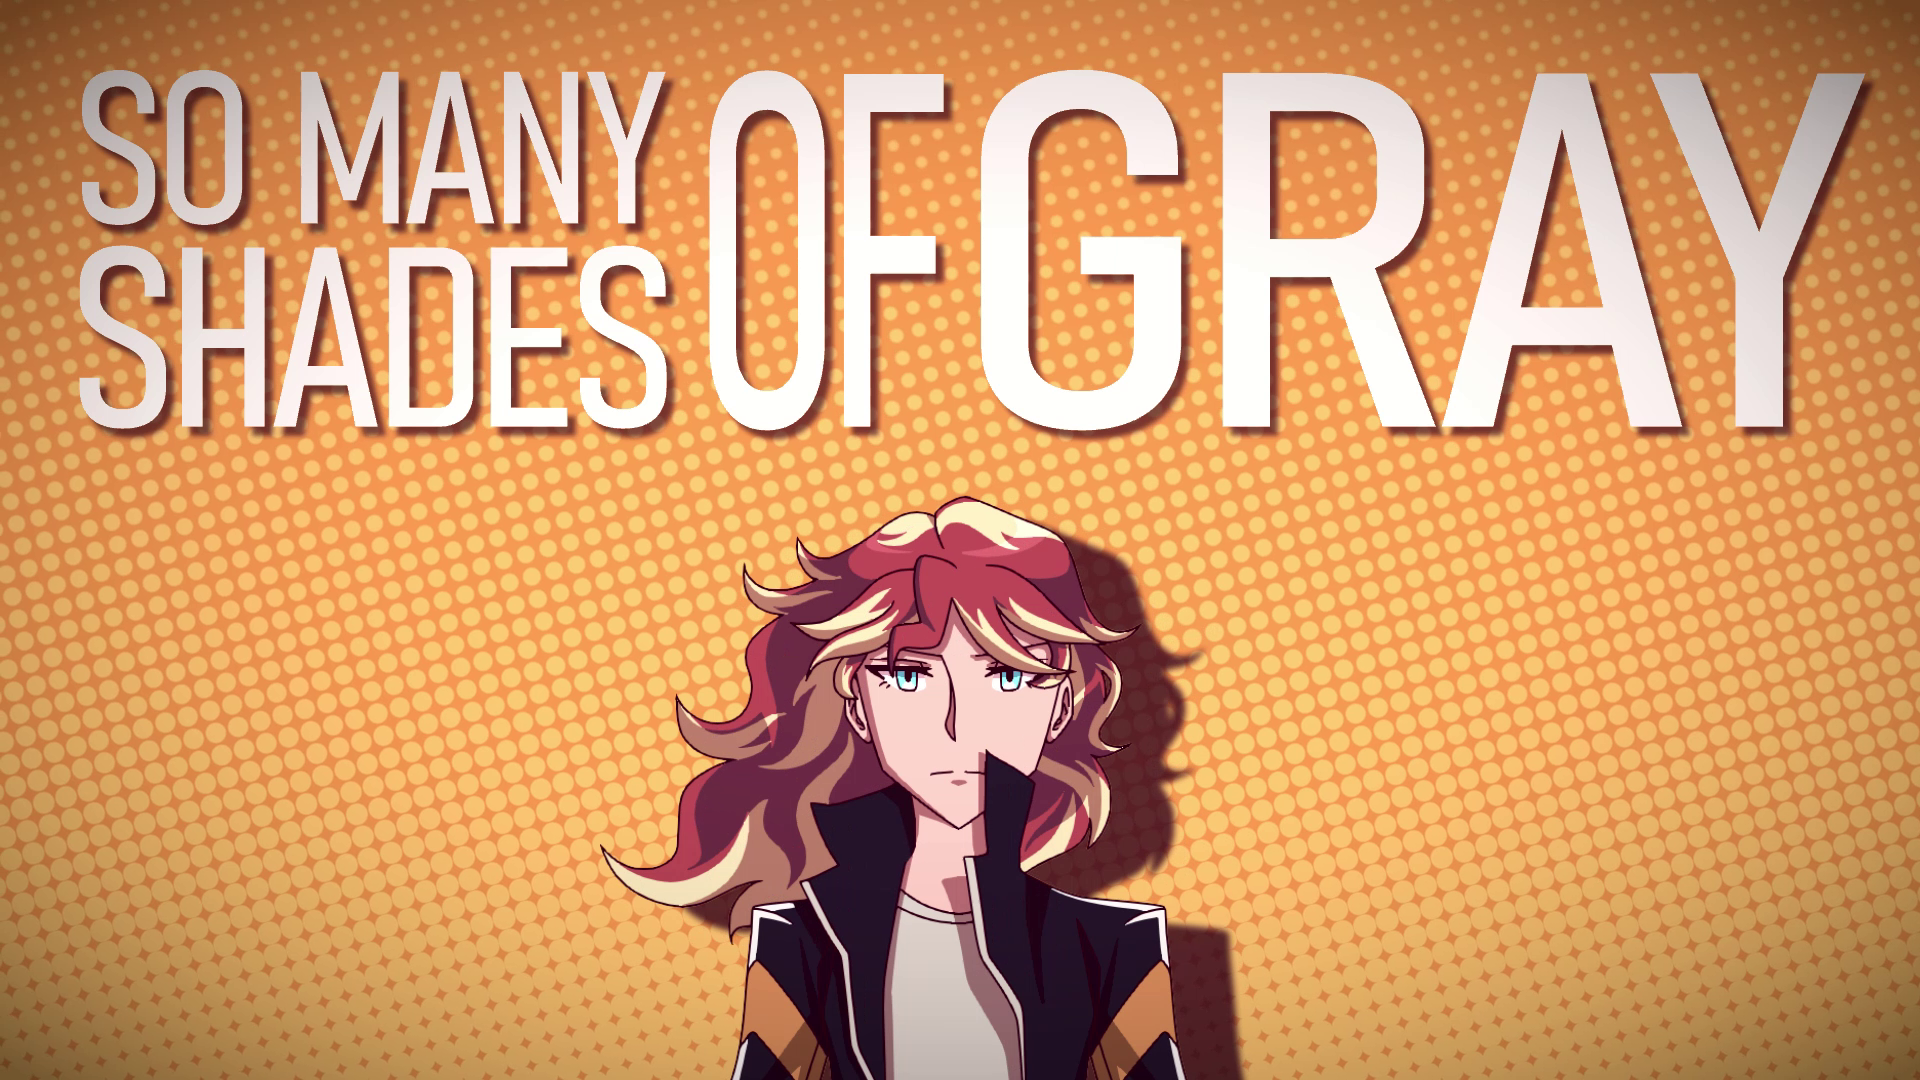
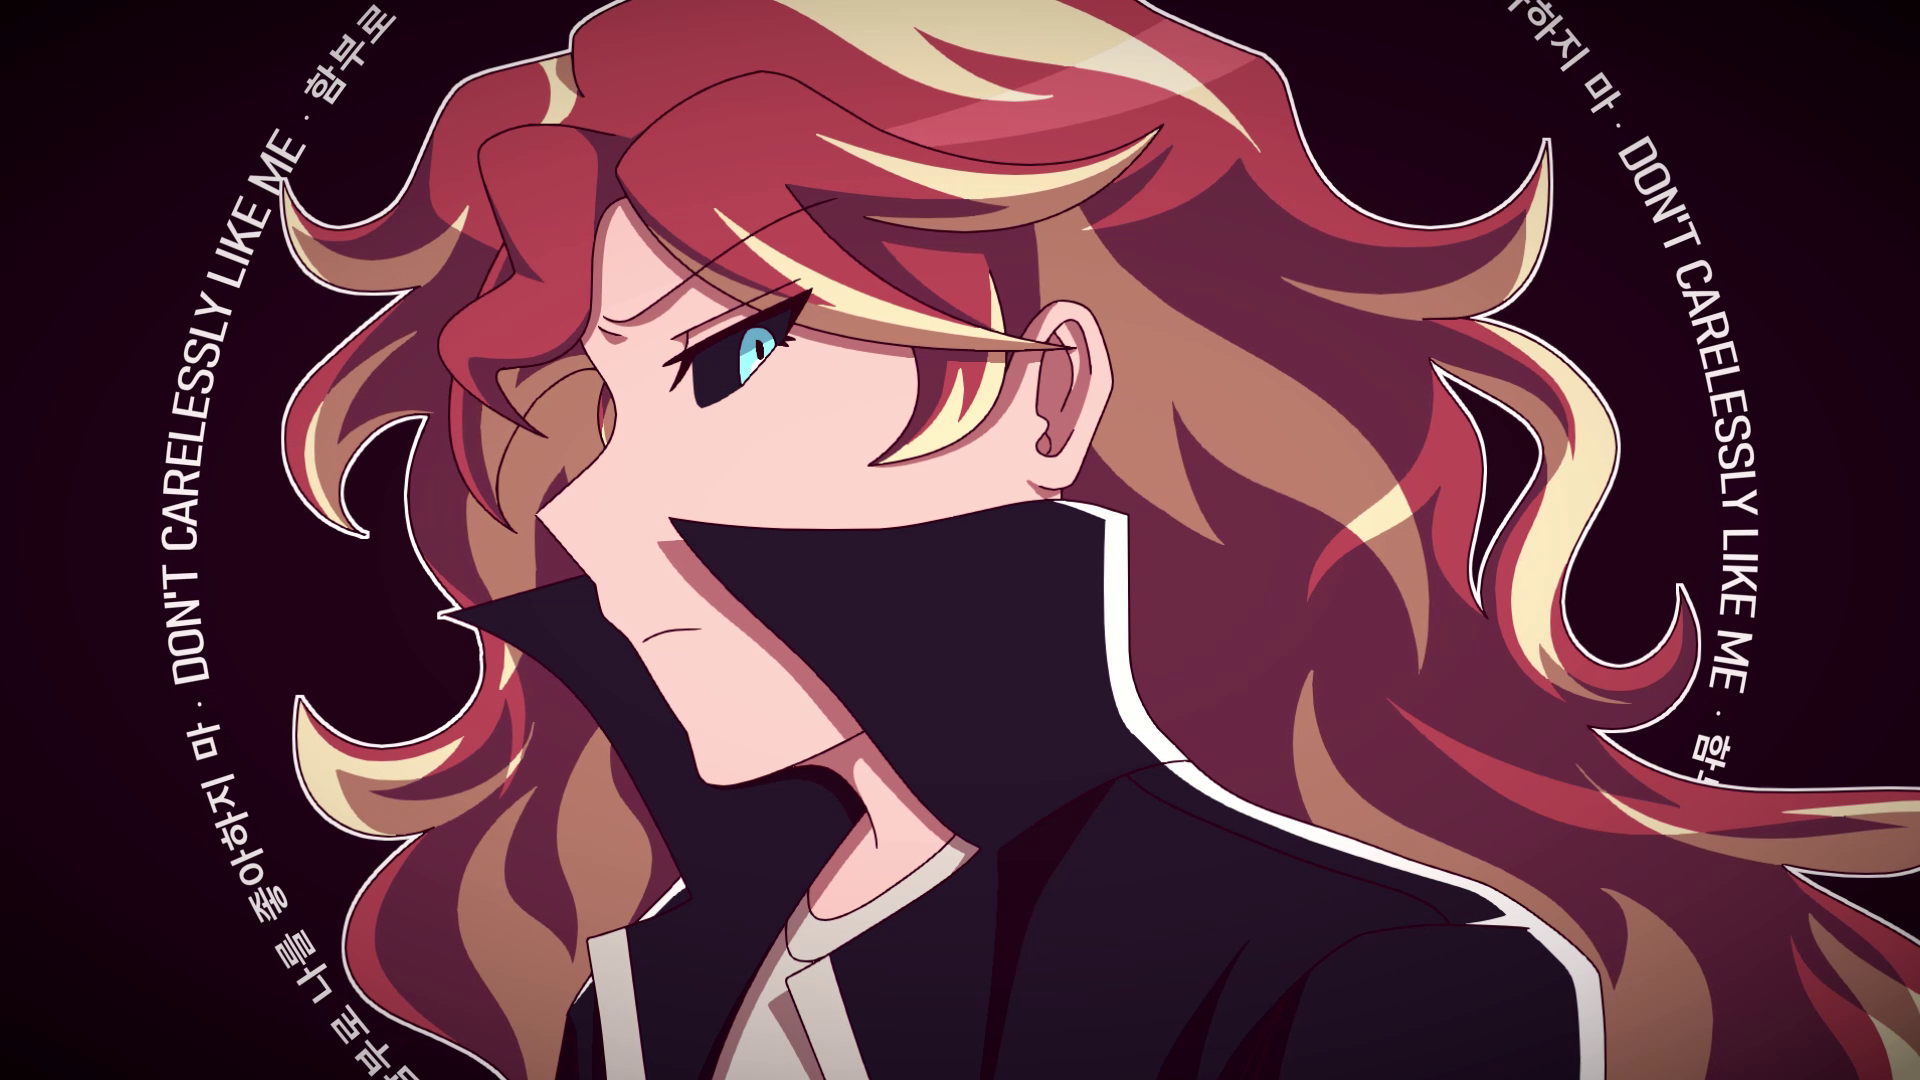
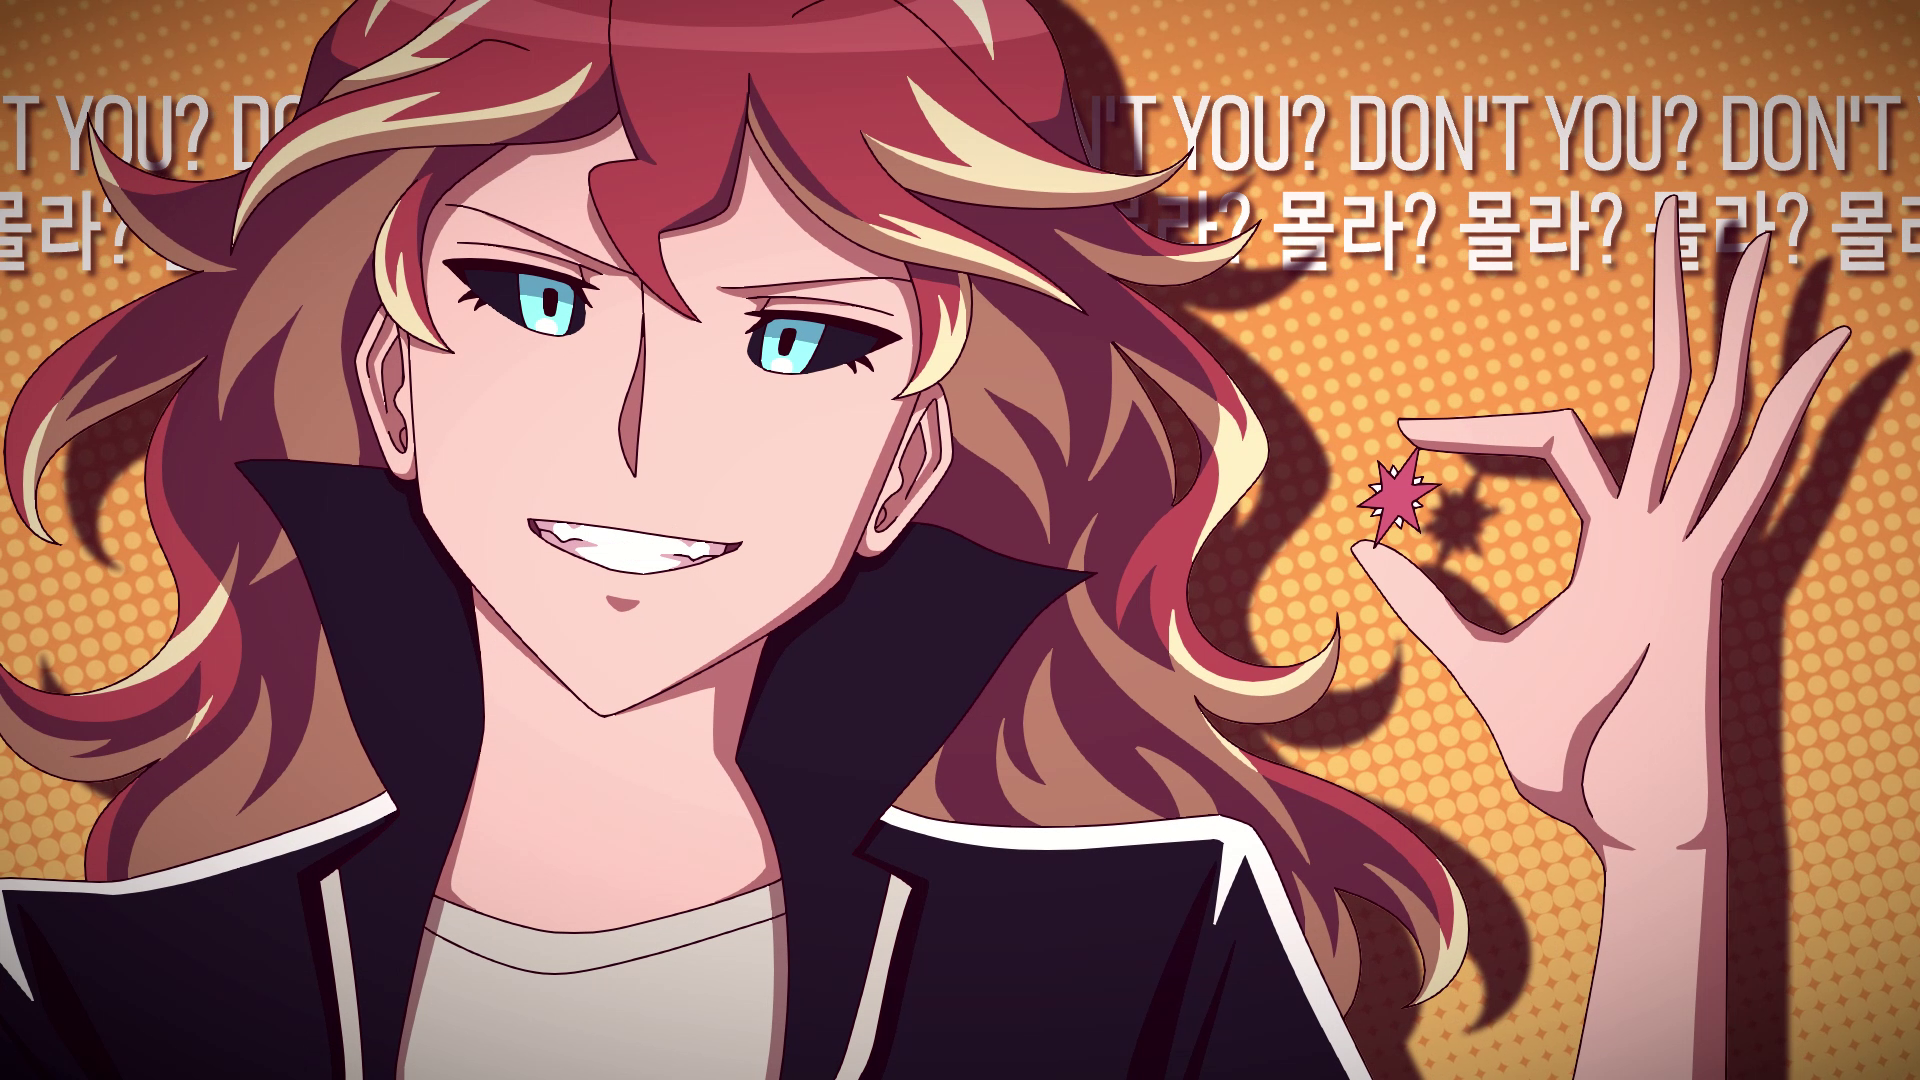
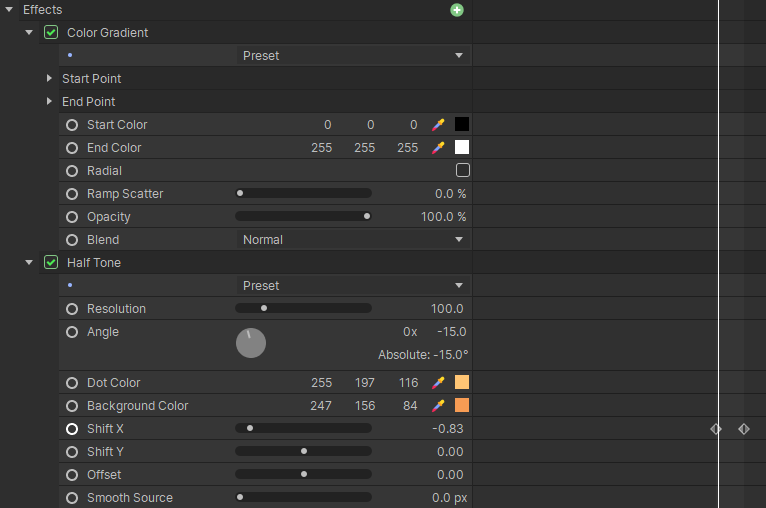
I also tried my hand at some simple generated effects: the dot pattern scrolling in the background, and the circular “beats” that flash out in time with the music. They may seem simple, but as someone with little video editing experience it was fun to figure out how to actually implement them in the project.
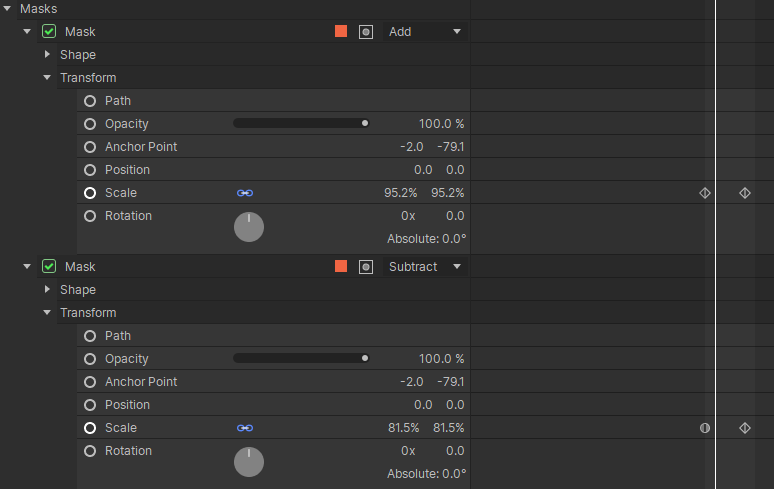
Finally, I added drop shadows, a vignette over everything, and a whole lot of transitions to make the scenes switch more smoothly. I'm so proud of how it all came together in the end, and, despite the major hiccup in the middle, it was an extremely fulfilling project to finally complete.